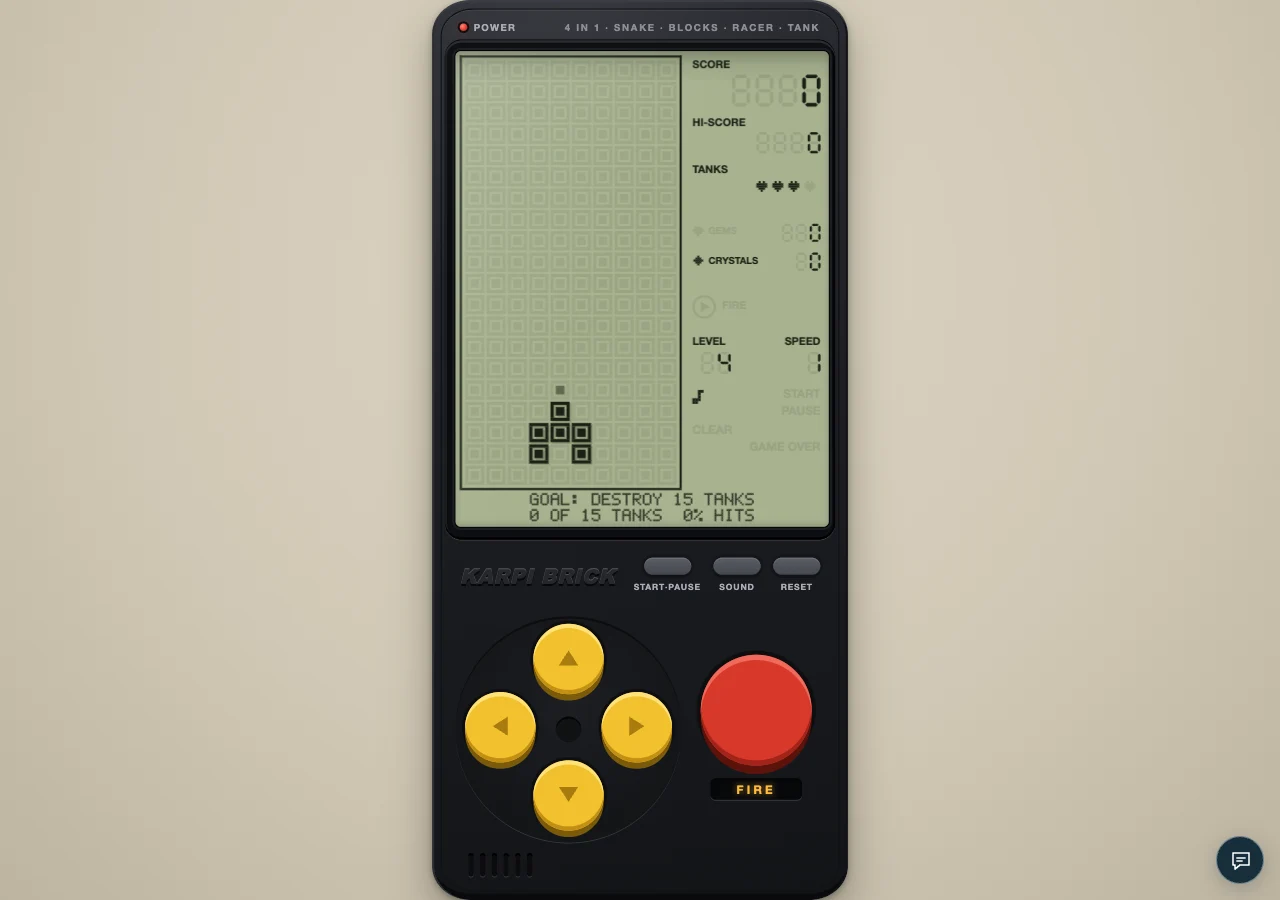
TANK COMMANDER: Twenty Targets, Two Lives
COMMANDER combines sustained pressure with a demanding clear. Manage firing lanes, recovery and accuracy through the final Tank journey card.

COMMANDER combines sustained pressure with a demanding clear. Manage firing lanes, recovery and accuracy through the final Tank journey card.
A little more to explore
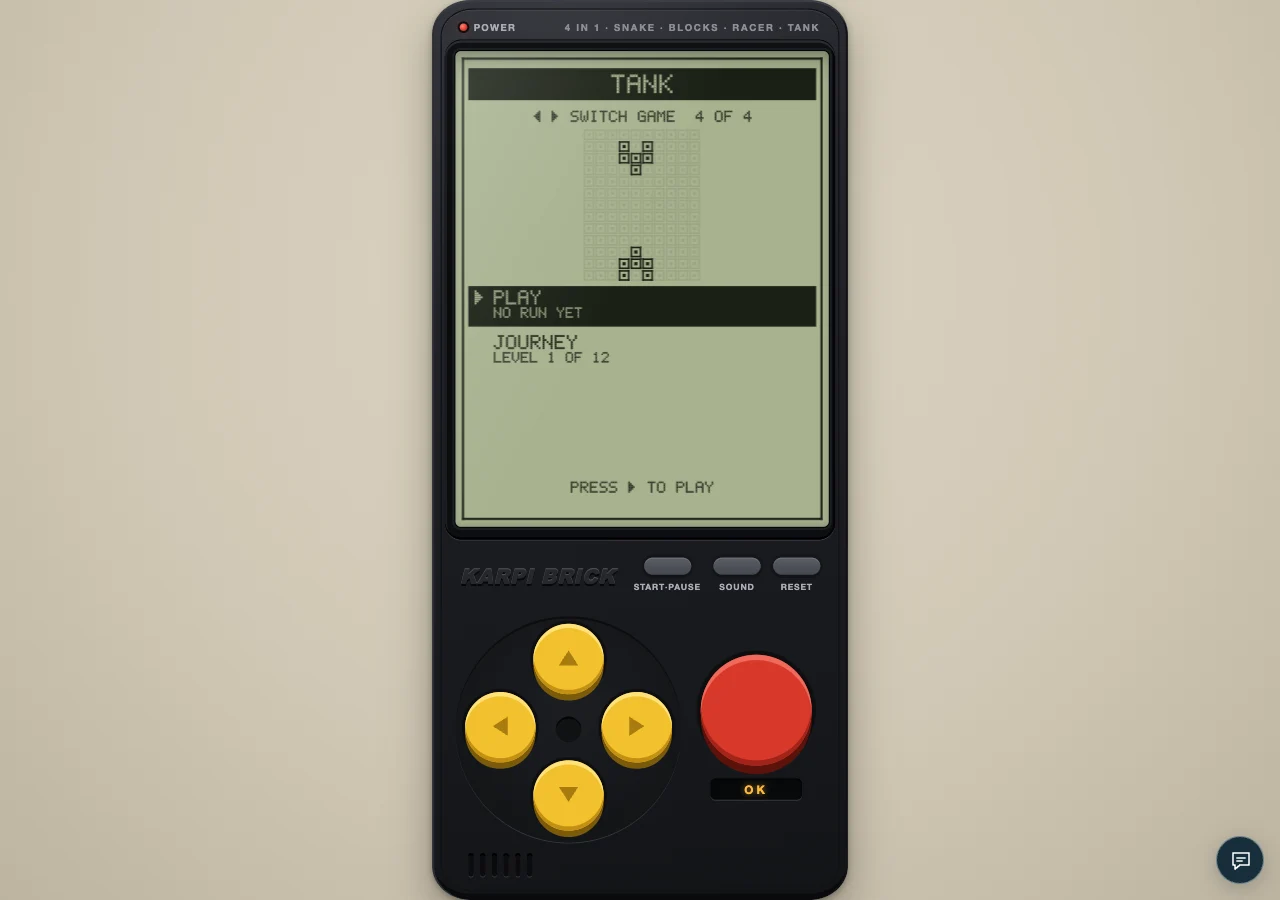
Separate turning, moving and firing on a phone. Build a simple aim-and-dodge rhythm that respects the tank's actual controls.
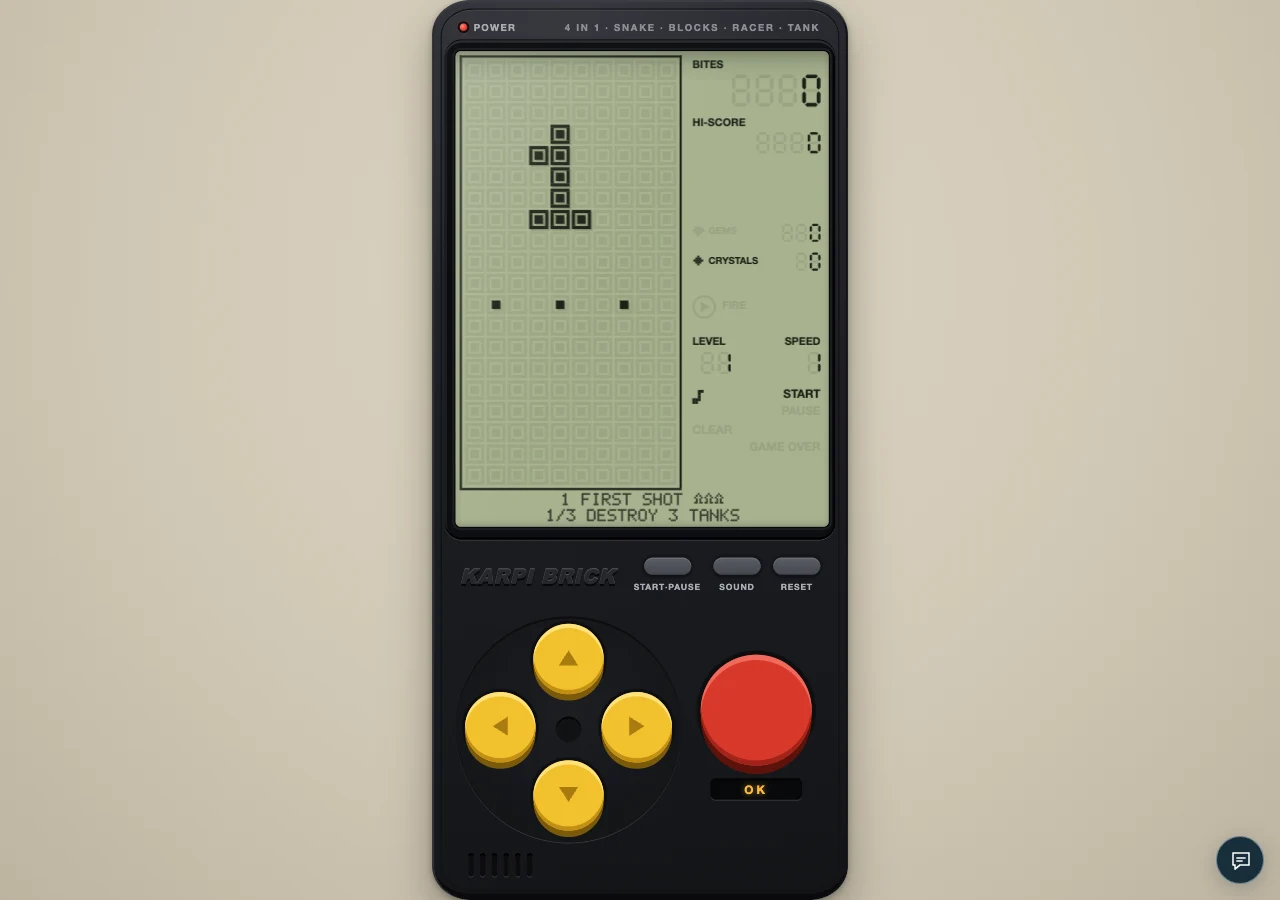
Explore Tank's twelve journey cards, from early handling lessons to COMMANDER. Match your practice to the goal and extra conditions.
Later Tank waves ask for better lane reading. Learn how enemy pressure changes and why repeated firing is not a complete plan.
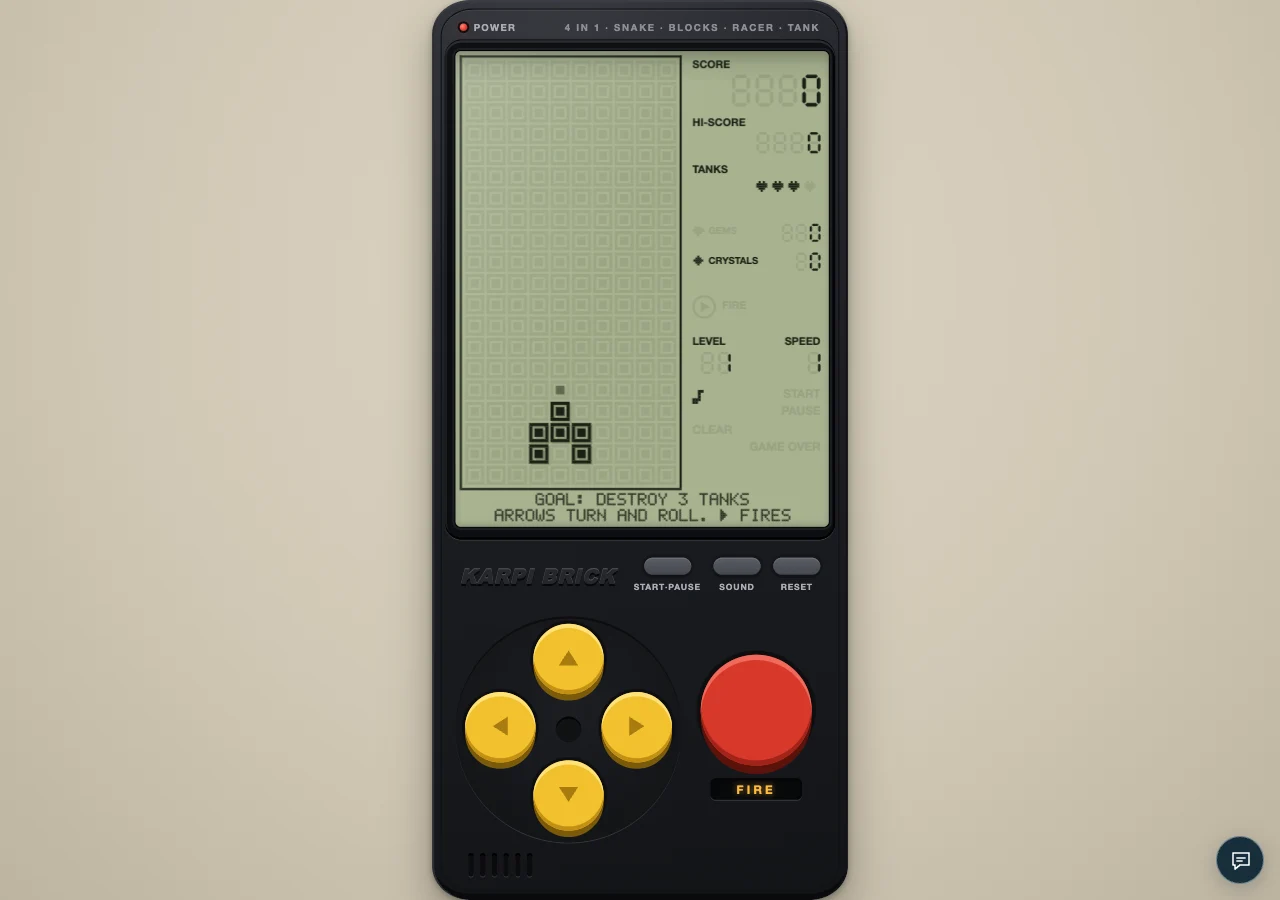
A nonfatal hit resets your position and facing. Use the brief protection window to recover control before re-entering the fight.
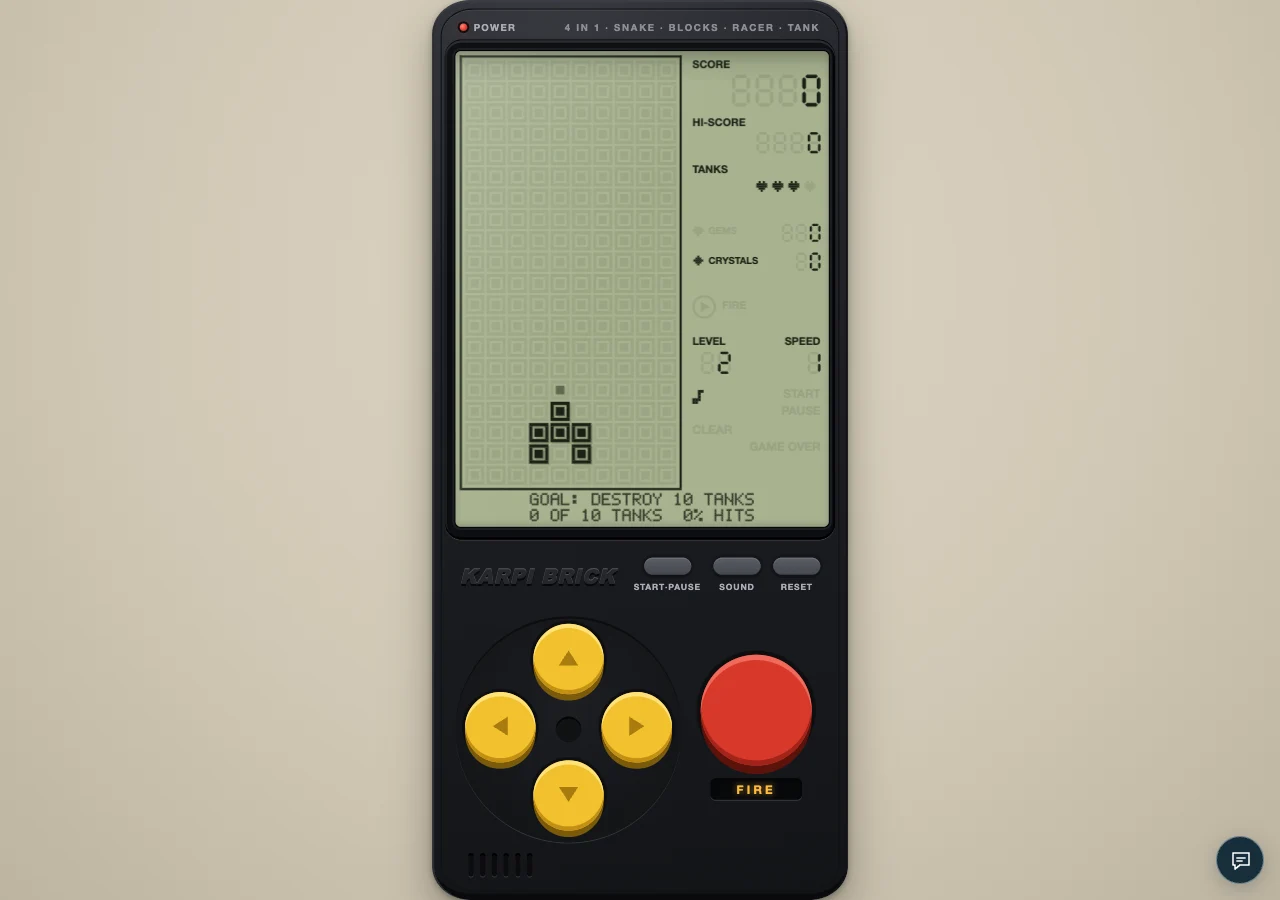
Surviving crossfire starts before the shells arrive. Read hostile lanes, keep an exit and choose when a shot is worth the exposure.
Accuracy depends on shots as well as hits. Work through Marksman targets and learn why one extra miss can change the result.
The first directional press may rotate your tank without moving it. Learn how facing and the tank's footprint affect an escape.
Only one friendly shell can be active. Choose a firing lane, account for travel time and avoid wasting your next shot opportunity.
Learn Karpi Brick Tank's turn-first controls, single-shell limit and journey goals before charging into the next wave.
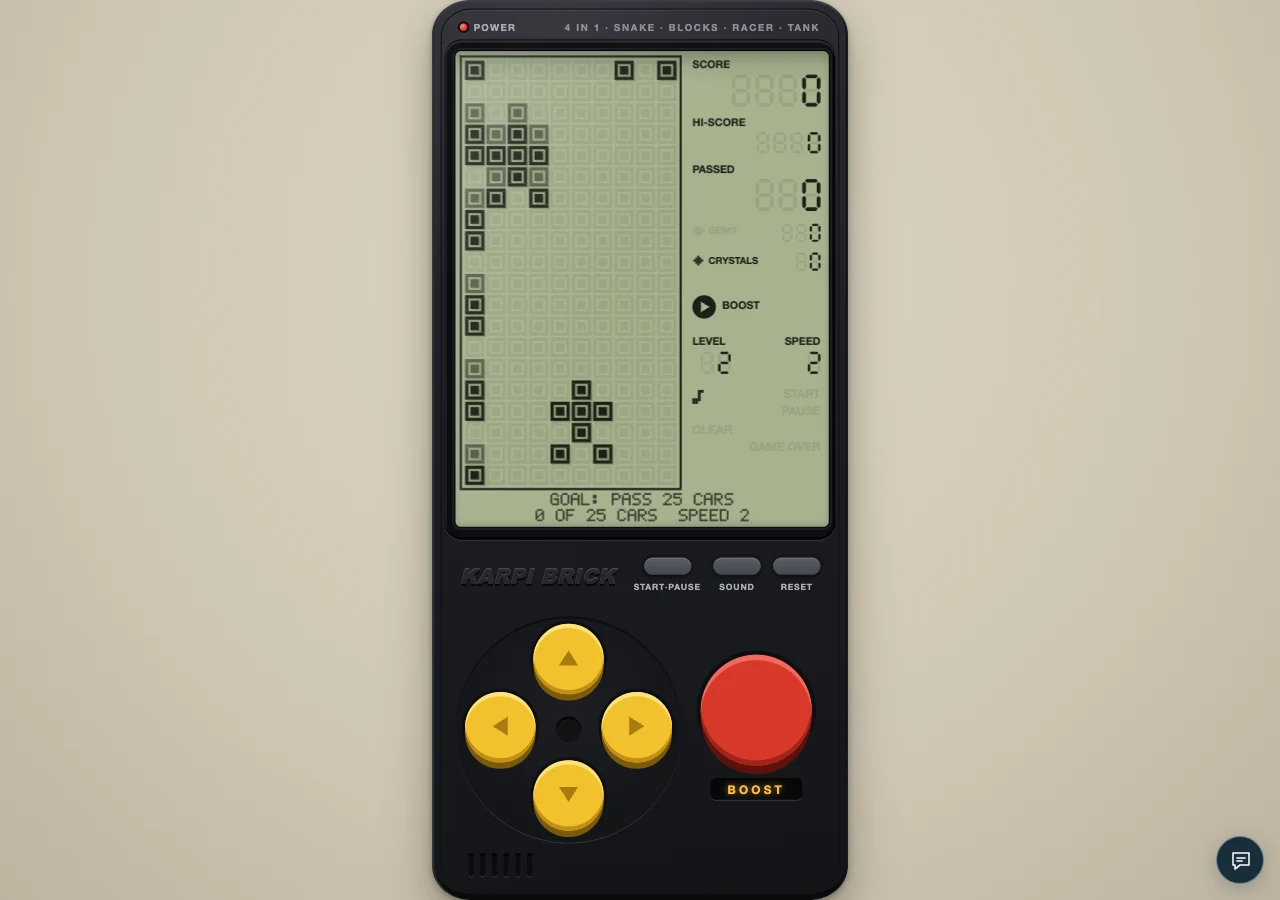
GRAND PRIX asks for fifty passes at high speed. Build a repeatable traffic-reading rhythm and understand when boost adds unnecessary risk.
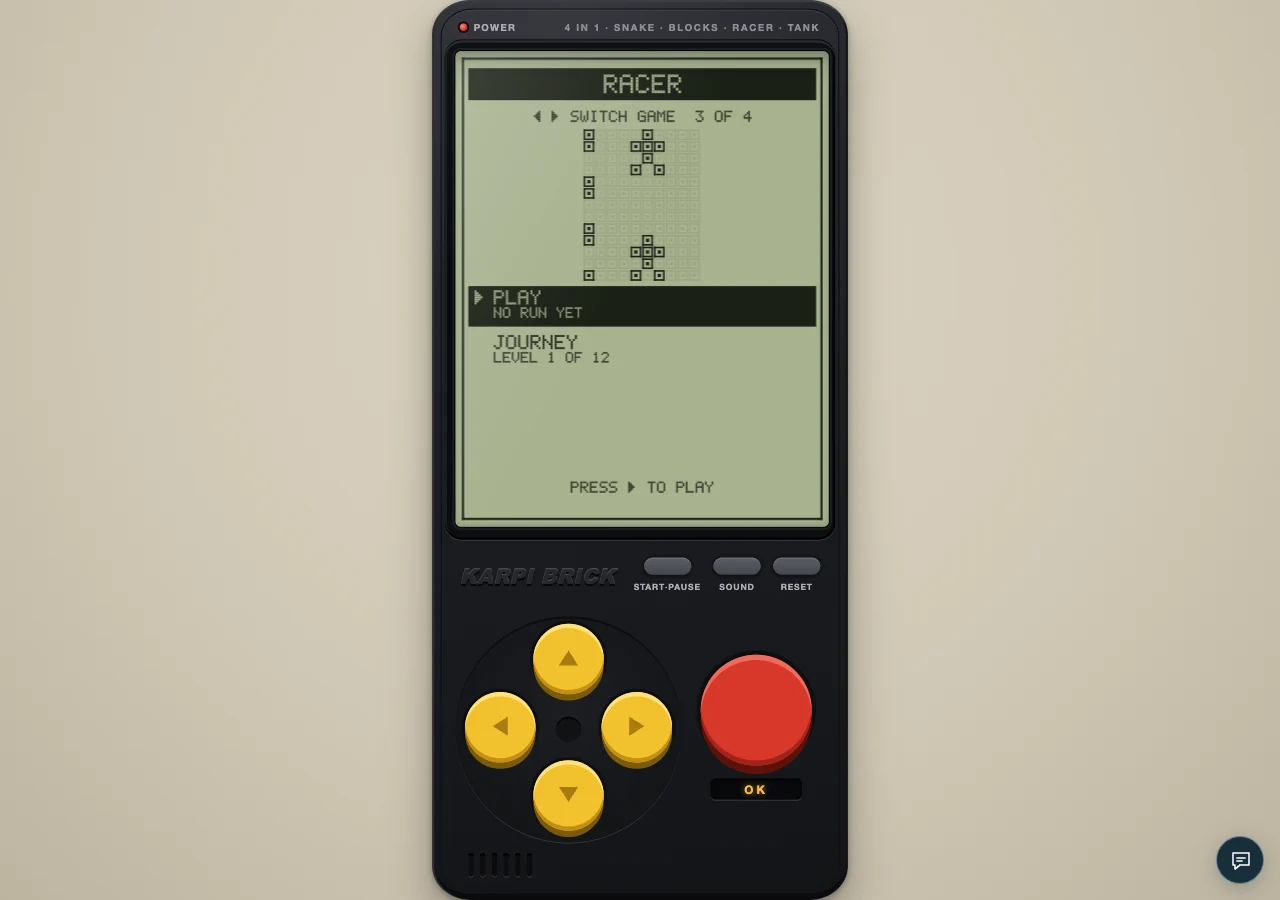
Make fewer, clearer lane changes on a phone. Learn the steering controls and plan your destination before tapping.
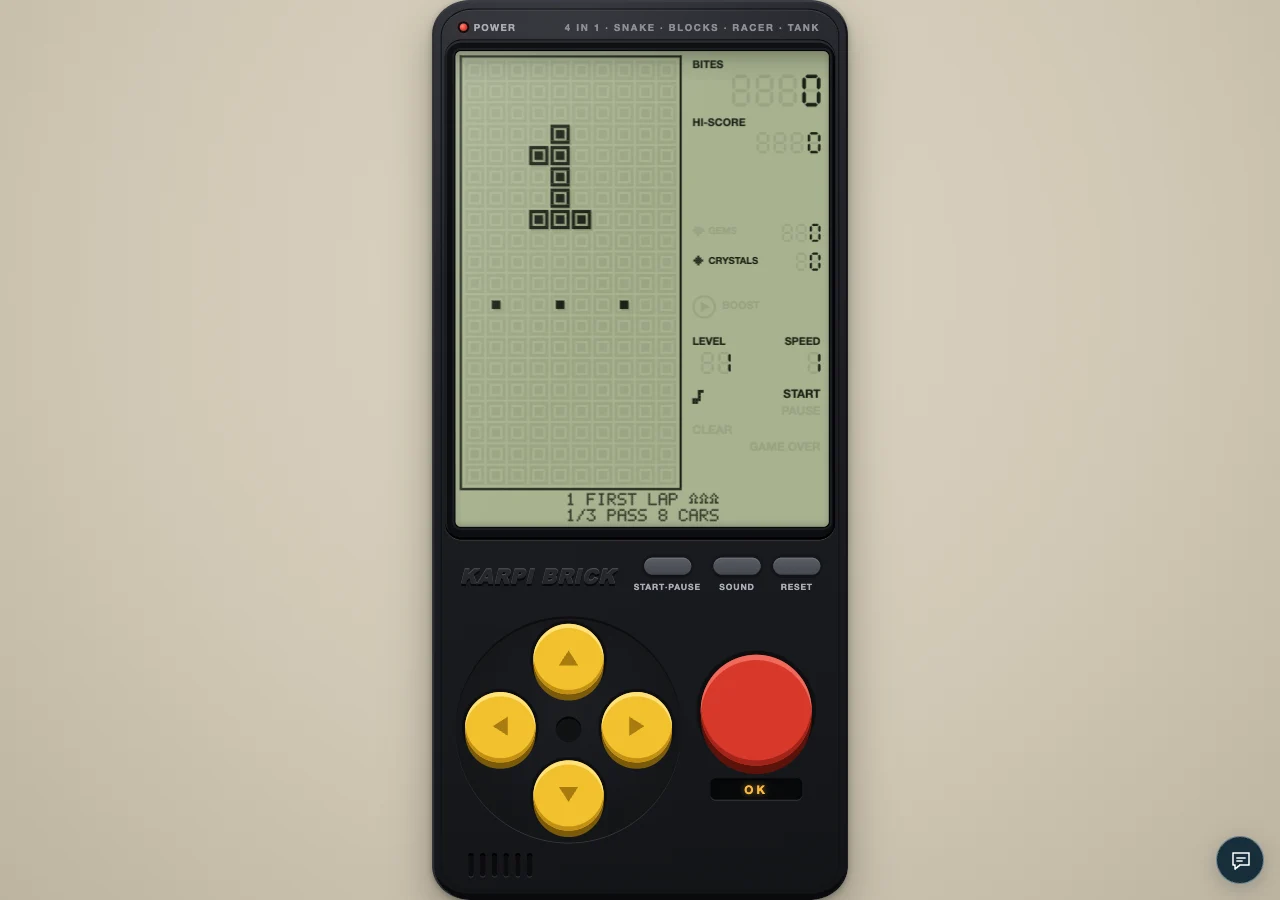
Follow Racer's twelve journey cards from FIRST LAP to GRAND PRIX. Read each main goal and choose which extra to pursue.
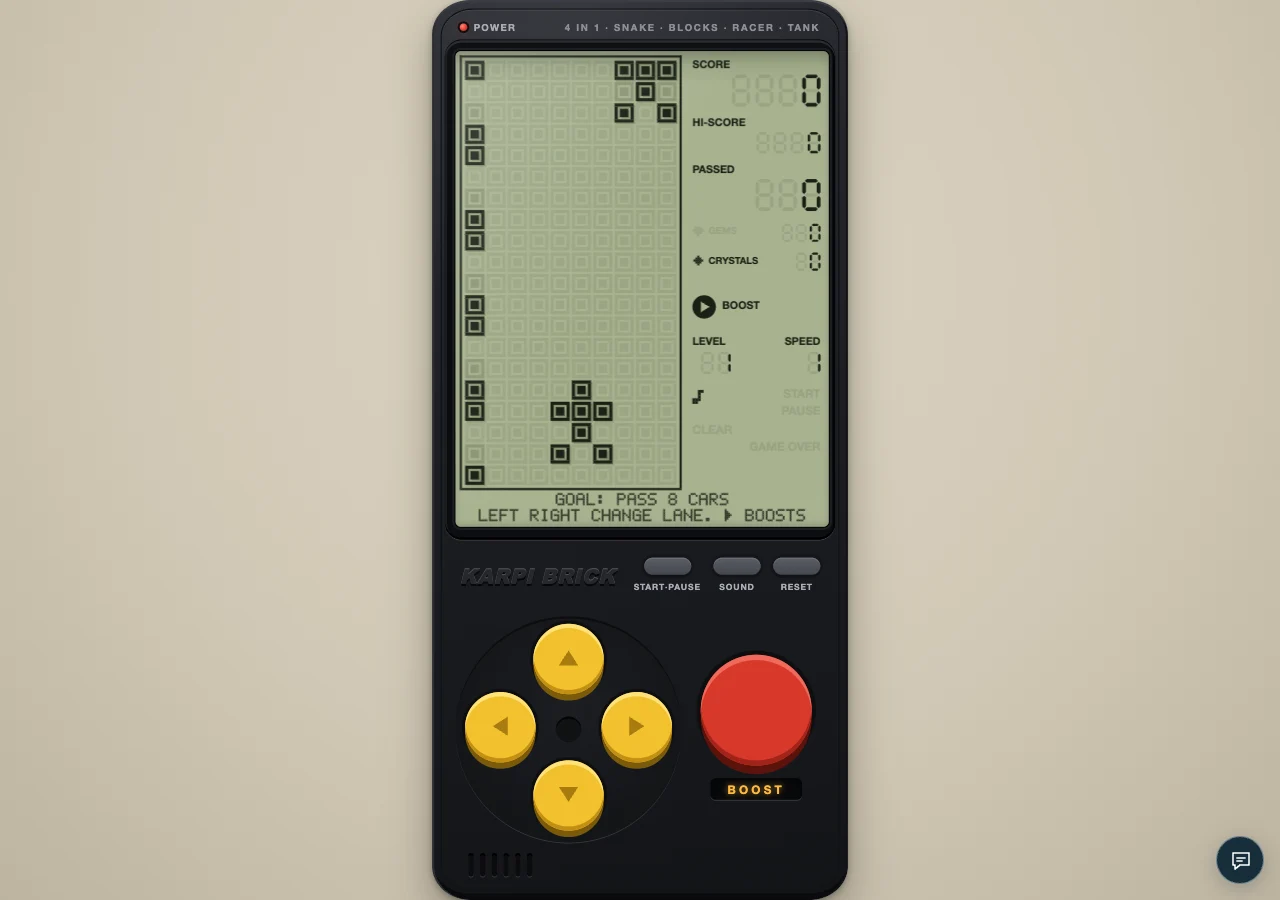
Passed cars and score measure different things. Work through speed multipliers, boosted points and why twenty passes can mean 280 points.
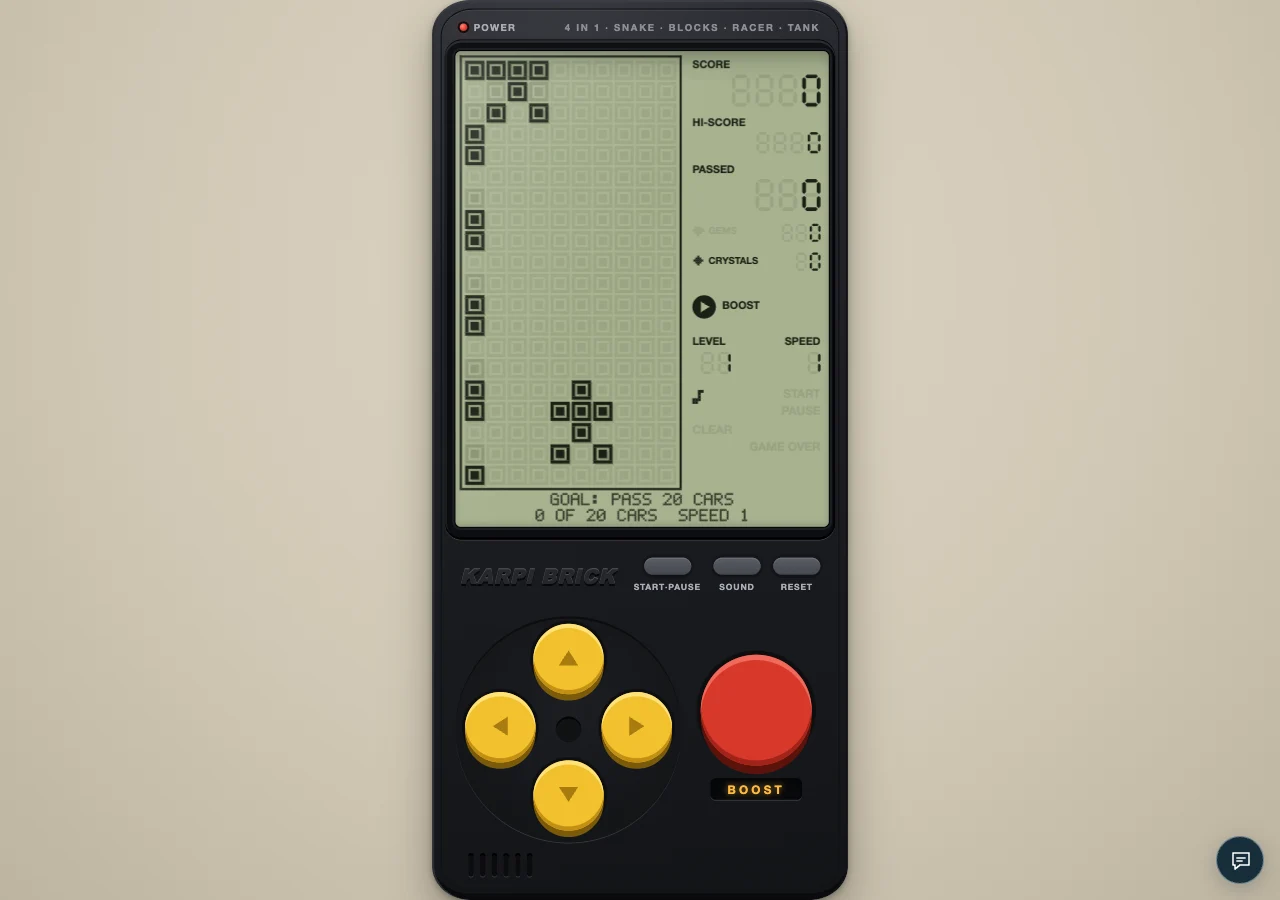
Some Racer cards reward restraint. Plan a survival run around clear lanes and understand what a no-boost condition rules out.
Two cars abreast leave one usable lane. Read paired traffic early and avoid a last-second move into the second obstacle.
Racer speeds up after groups of twelve passes. Learn how the three speed levels change timing and the points earned per car.
Read traffic across all three lanes before steering. Choose a clear destination and avoid reacting to the nearest car alone.
Boost doubles points but changes the timing of traffic. Learn its fixed duration, cooldown and the gaps worth spending it on.
Three lanes, approaching traffic and one boost button: learn Karpi Brick Racer's controls, score counter and first journey goals.
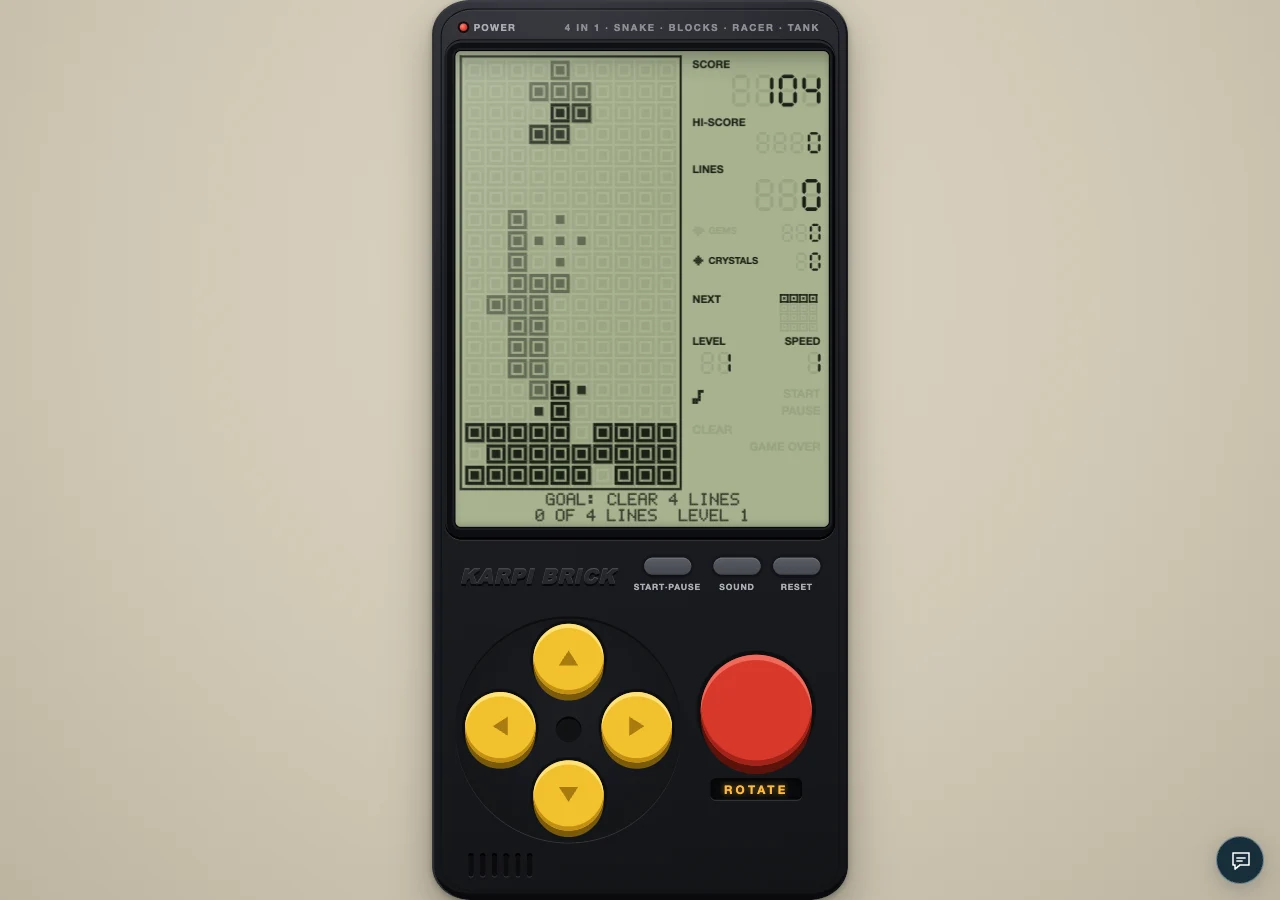
A high stack is recoverable only while pieces can still enter. Reduce immediate pressure, clear accessible rows and stop chasing perfect setups.
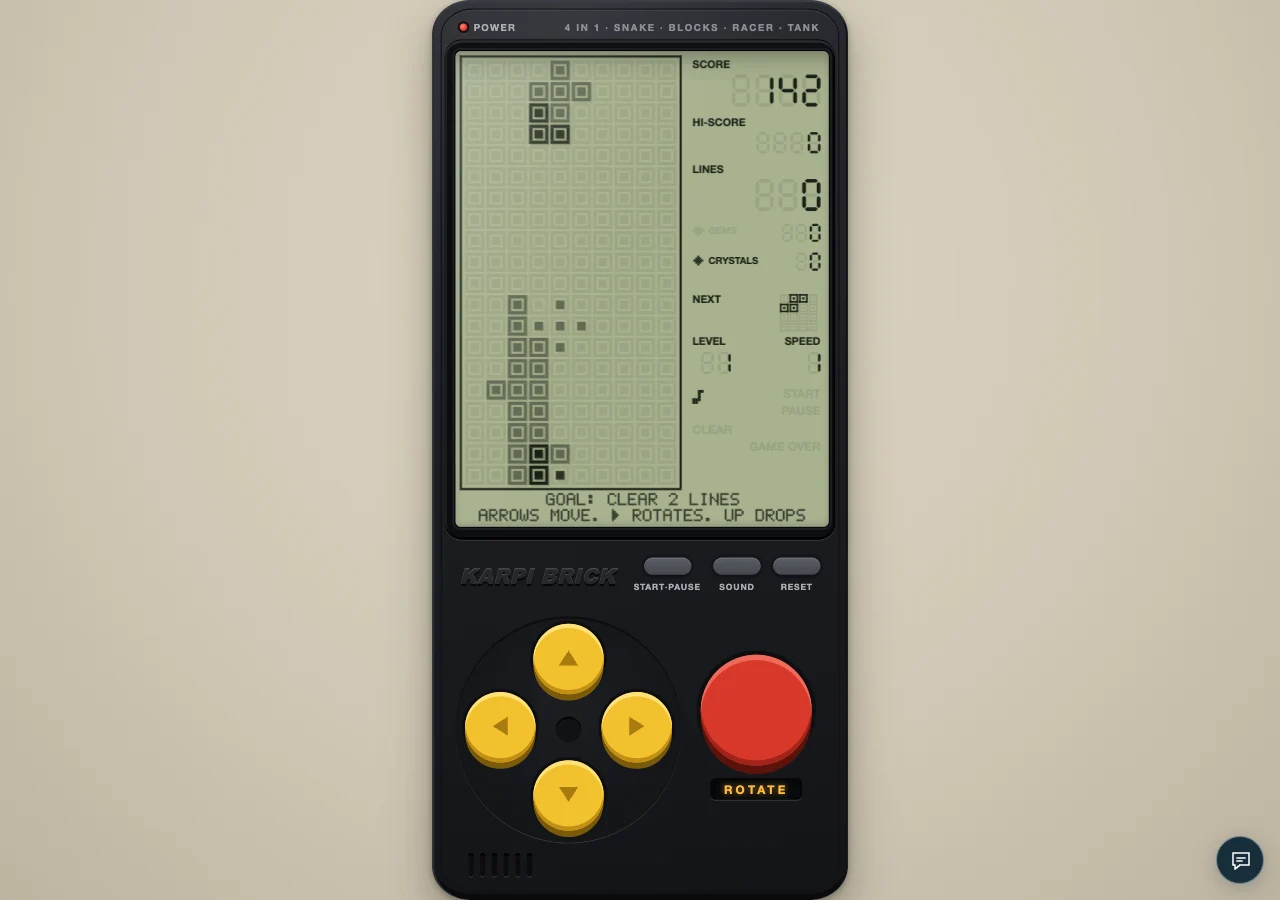
The next-piece preview can change the best placement now. Compare two landings and preserve useful space for the shape coming next.
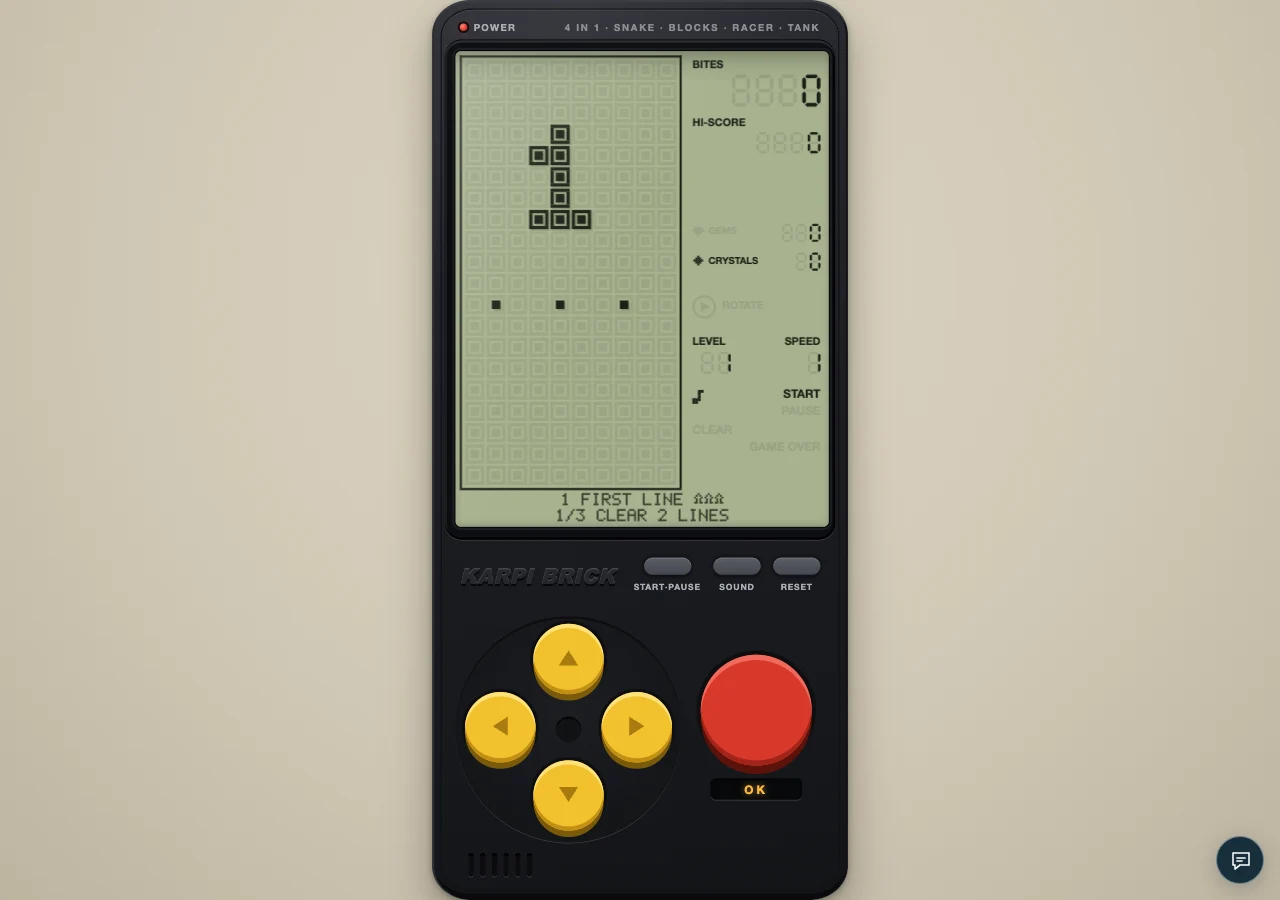
Read the goal and extra conditions on each Blocks journey card. Choose a line-clear, dig or speed practice attempt deliberately.
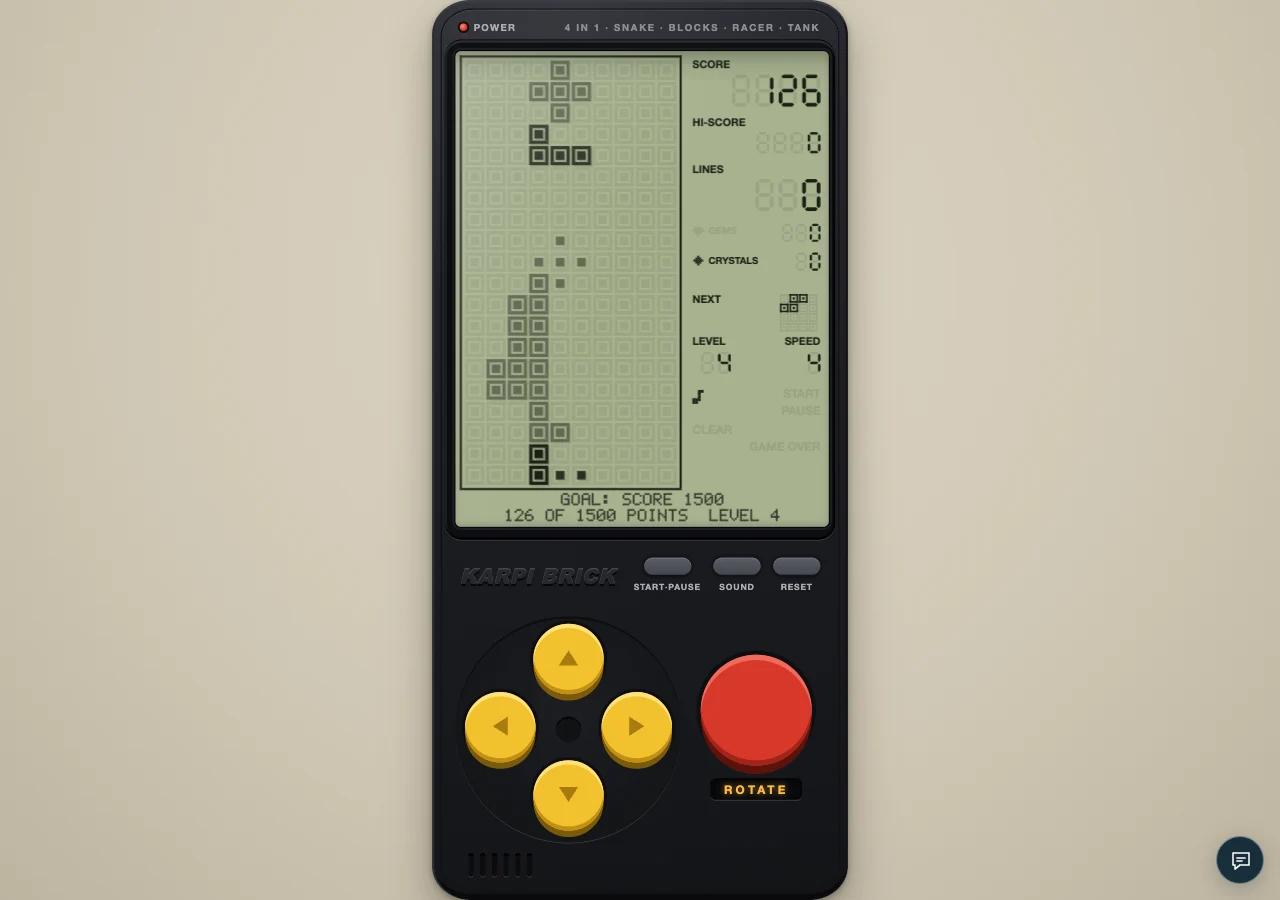
When pieces fall faster, a low stack buys thinking time. Use the preview and simplify placements before the board becomes crowded.
Dig levels begin with a problem already on the board. Follow the garbage-row openings and avoid covering the path you need to clear.
One line and four lines pay differently. Work through Blocks scoring, level multipliers and the points earned from dropping pieces.
Use soft drop for adjustment and hard drop for a confirmed landing. Learn the controls and how each drop adds points.
An empty cell under a block can ruin a tidy-looking stack. Spot buried holes early and build rows you can actually finish.
Karpi Brick Blocks has eight shapes, including a plus and two small pieces. Learn their footprints before choosing a rotation.
Get started with Karpi Brick Blocks: learn the eight shapes, clear full rows and keep room for the next piece.
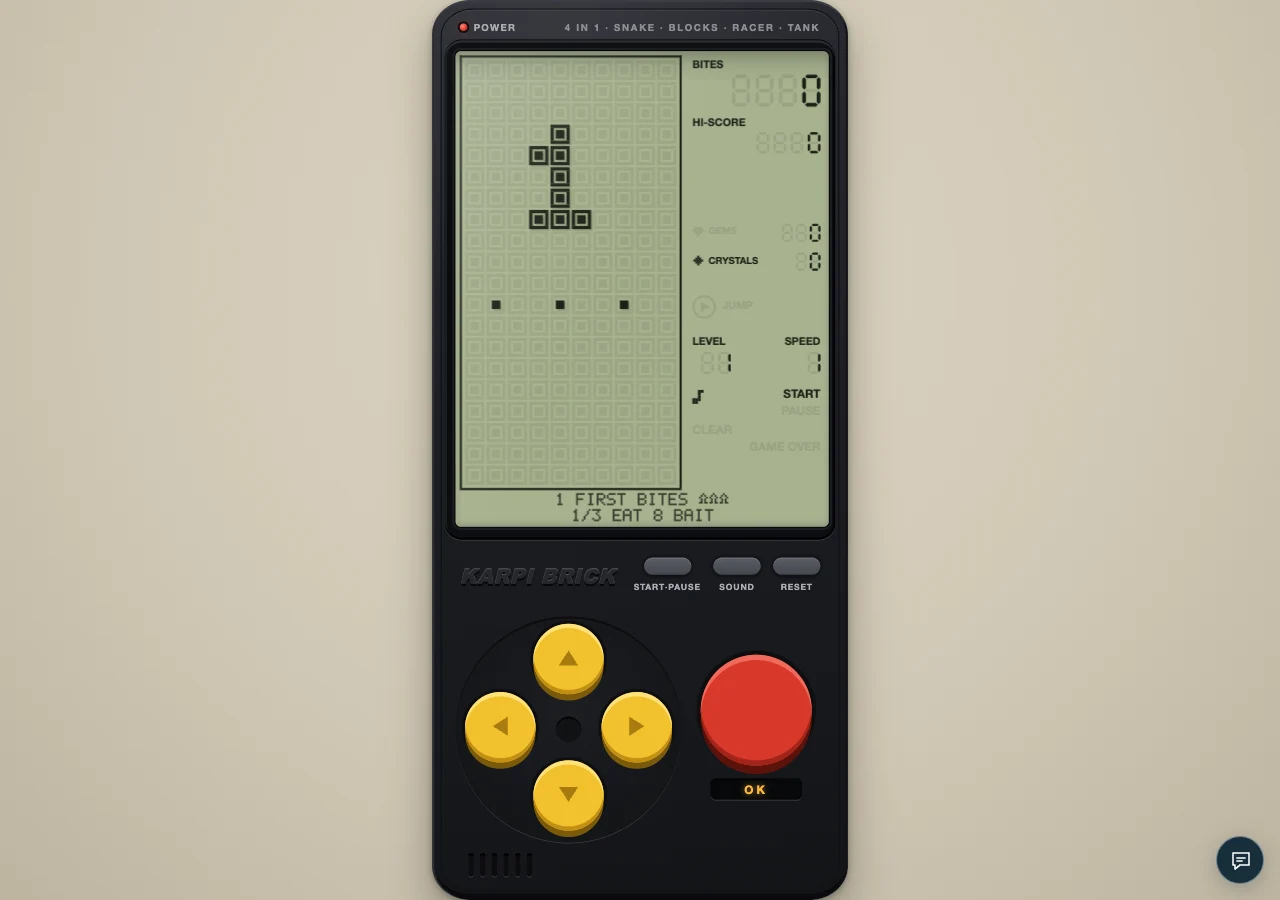
Practise Snake in five focused minutes: read the tail, name an exit and review the decision that ended your run.
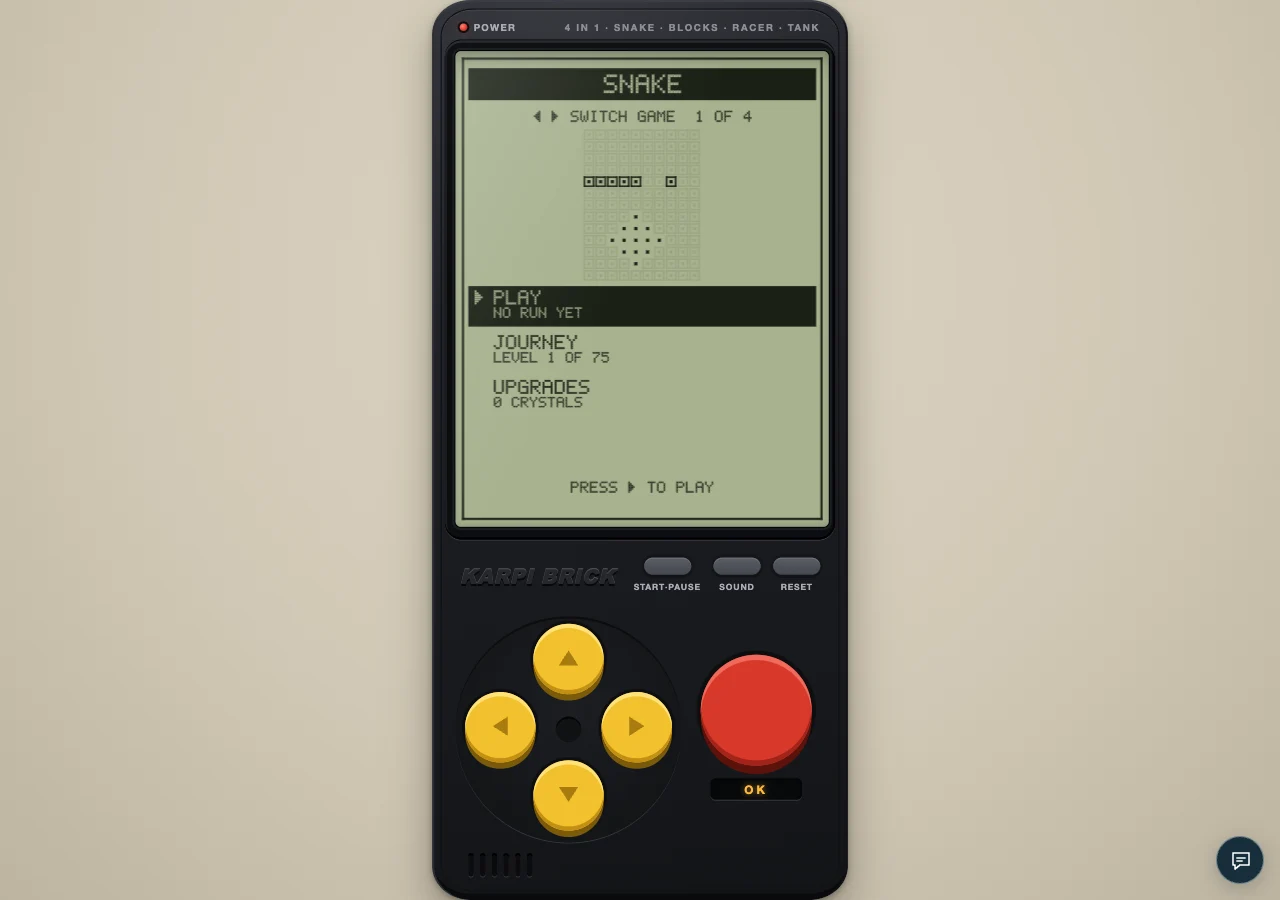
Make cleaner turns on a phone. Use the directional pad, plan one corner ahead and separate steering mistakes from route mistakes.
Run gems and persistent crystals serve different purposes. Understand the counters before choosing your next Snake upgrade.
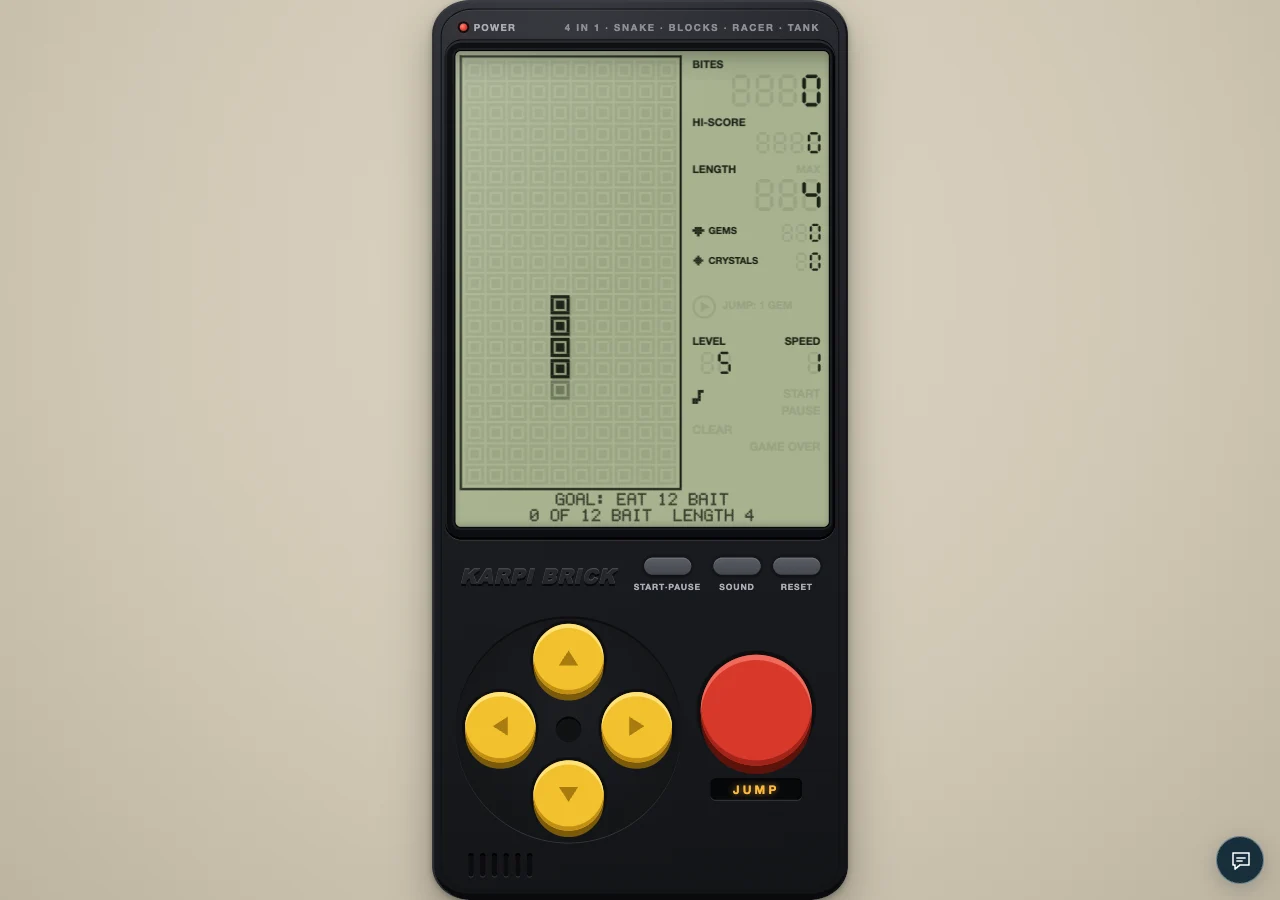
A successful bite can leave nowhere to turn. Plan the exit before reaching food and recognise the routes that trap your own snake.
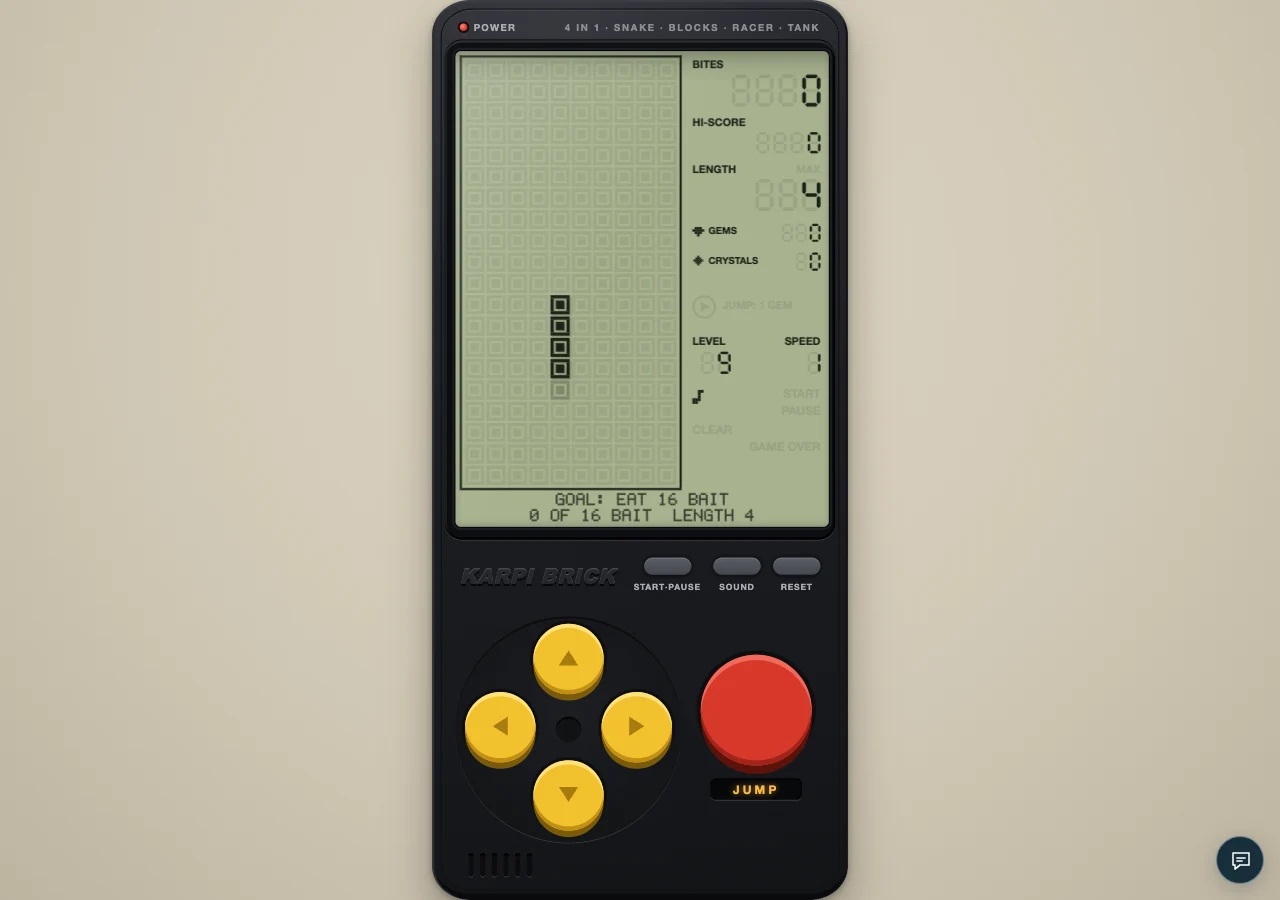
Snake keeps the same pace as levels get harder. Find out how obstacles, food routes and a fading tail change the challenge.
Explore Snake's 75-level journey, read each goal and use the star conditions to choose a focused attempt.
Time Jump follows the food ahead. Learn when to line up the move, when to save it and why it cannot rescue every crowded route.
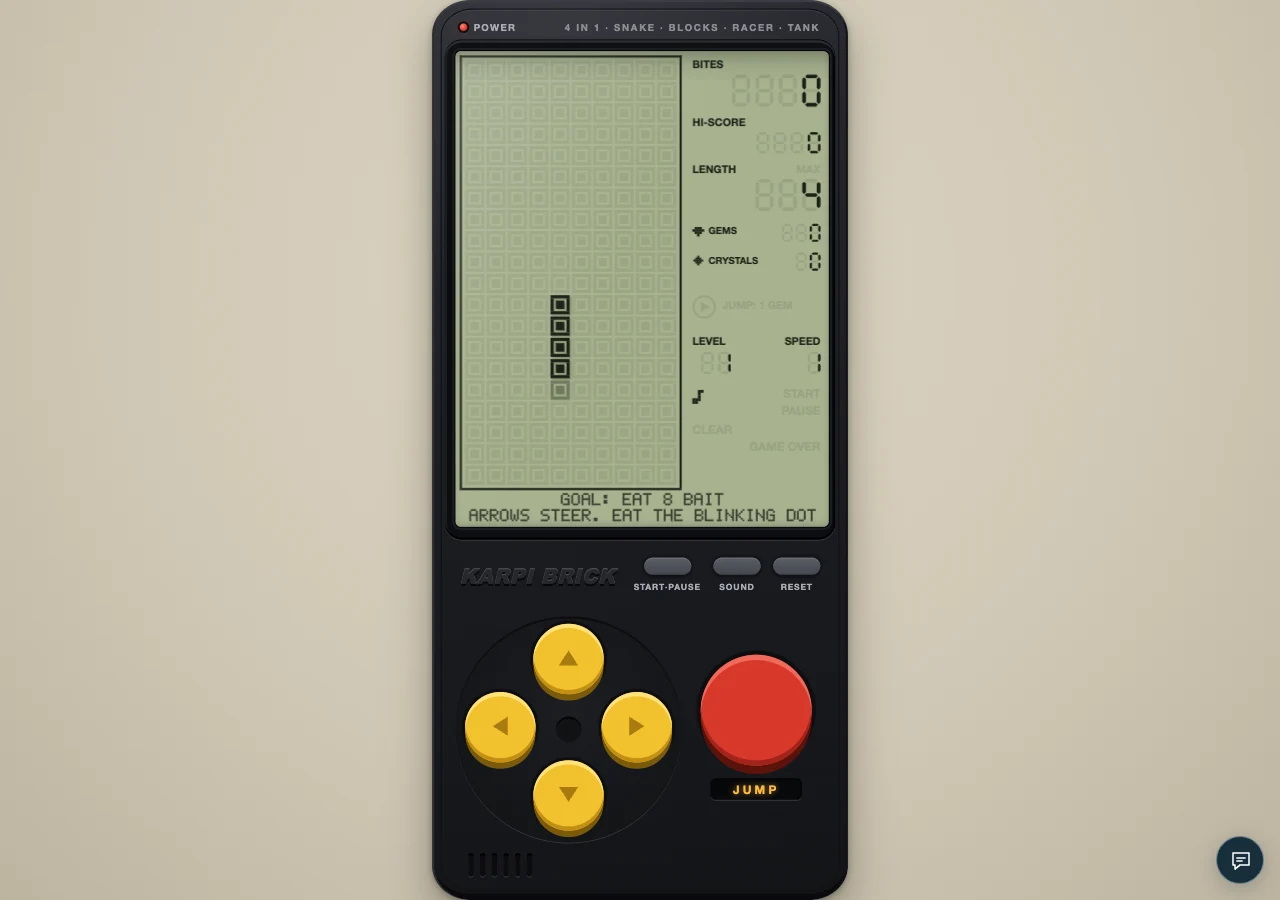
The board wraps at every edge. Compare shorter food routes, check the landing cell and avoid turning a shortcut into a trap.
Your snake can shrink even when you avoid every obstacle. Read the fading tail and reach food before the last segment disappears.
Karpi Brick Snake has an expiring tail. Learn how food, wraparound routes and a clear exit keep your next run alive.