 KarpiGames Editorial
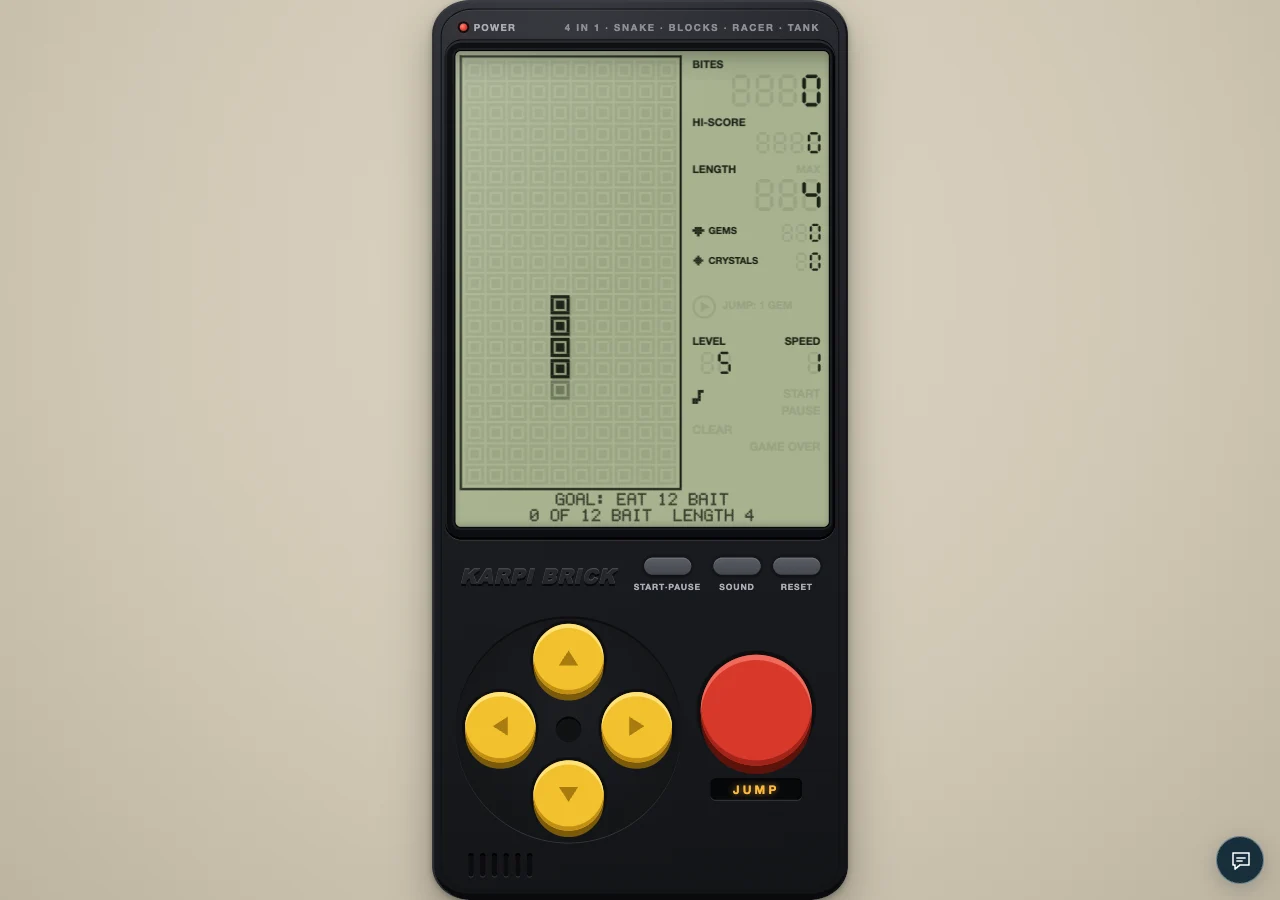
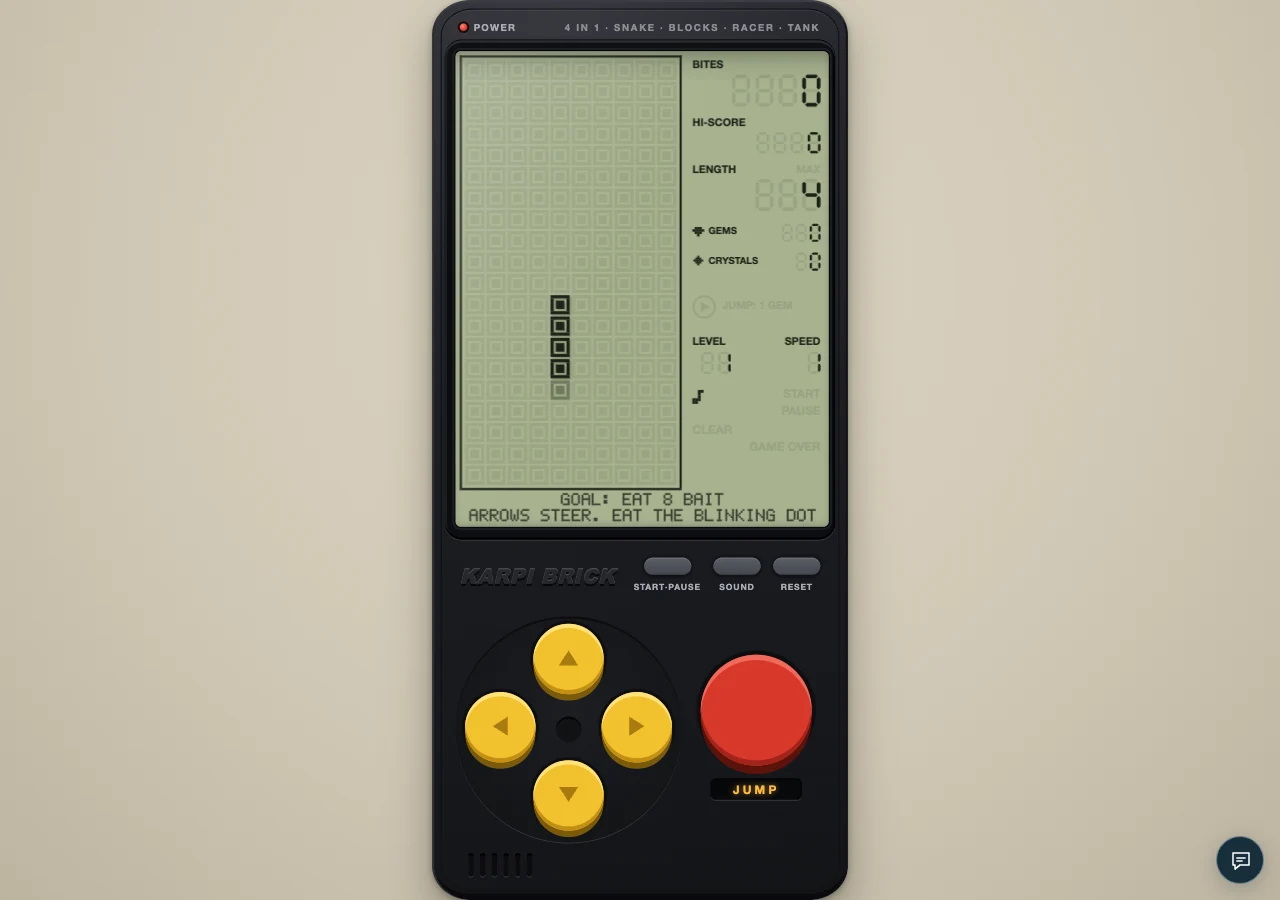
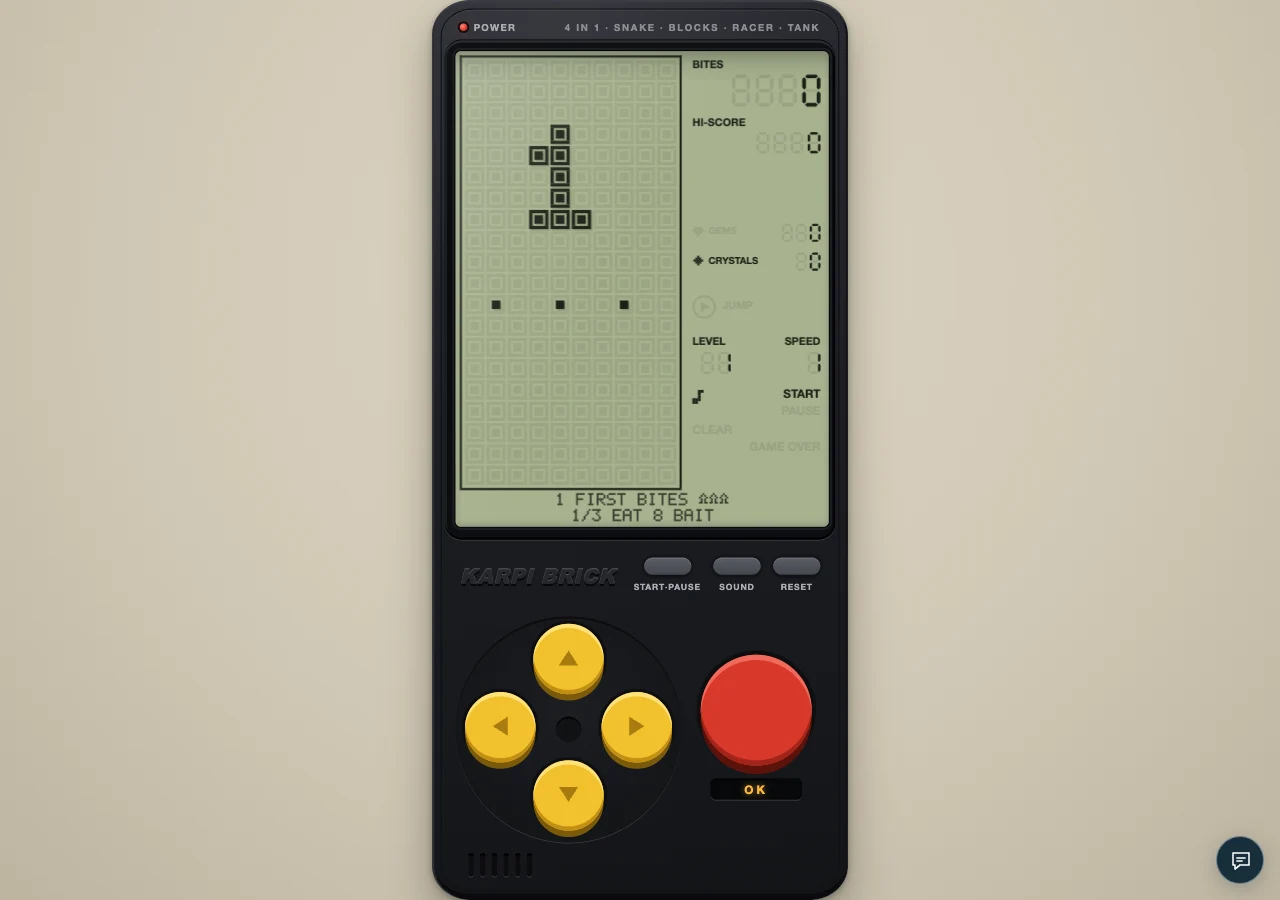
An authentic local capture of the cartridge. The visual guides below explain the decisions to look for.
A self-collision often starts one bite before the crash. You reach the food successfully, grow, and discover that the obvious way out is occupied. Prevent that sequence by judging the space after a bite as carefully as the approach to it.
Look beyond the target cell
Food is a destination only for the current move. The game continues immediately afterward. Trace a short exit route before turning toward it. Is there enough room for a corner? Will the head face the body? Could a wrap lead into an occupied cell? These questions matter most when a tempting bait sits beside a wall or at the end of a narrow lane.
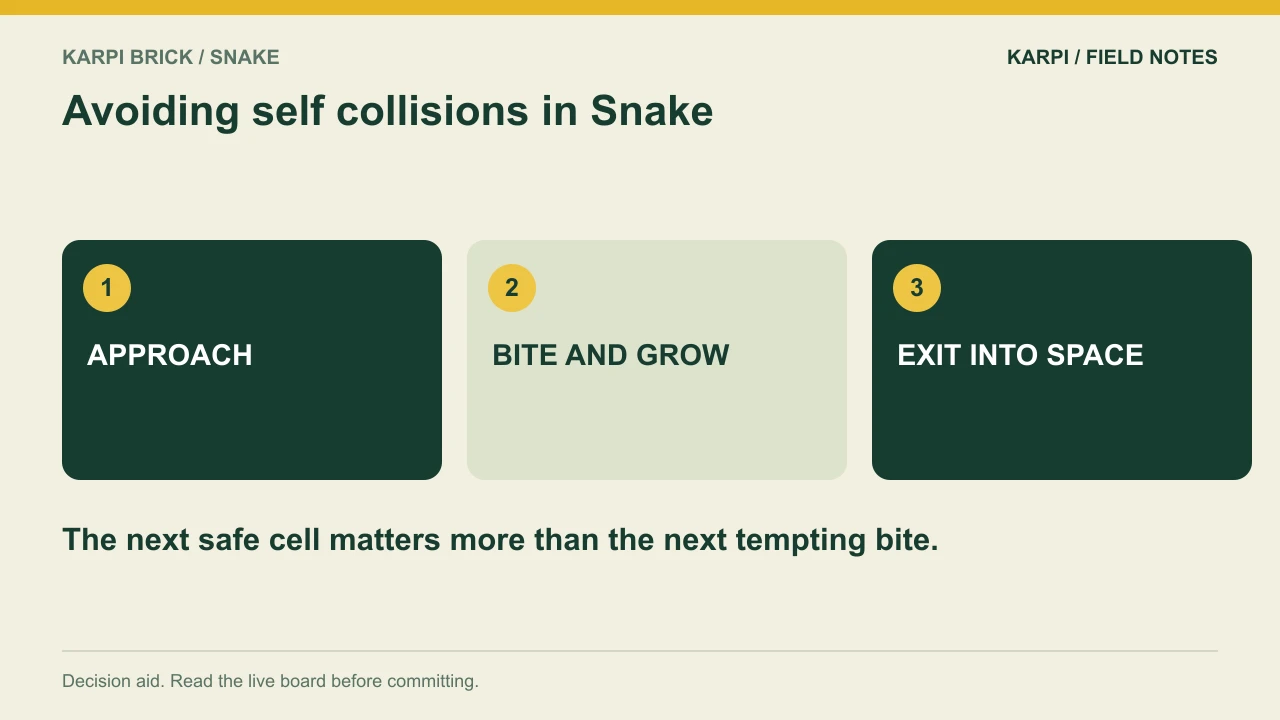
Do not mistake a fading segment for empty space
The tail's warning means a segment will expire; it does not mean it has already vanished. A route through a fading part of the body needs the timing to be right. If you are not sure that the cell will be free, treat it as occupied. The small gain from a risky shortcut rarely helps if it ends an otherwise controlled run.
Growth changes the route you just used
A loop that worked at a shorter length can become crowded after several bites. Reusing it automatically can close the exit. After eating, briefly reassess the open part of the board rather than looking only for the next bait. The body is a moving obstacle that your own success creates. That is the central tension behind a run that feels safe until it suddenly is not.
Leave a corridor for the next decision
Open space is useful because it gives you choices. Avoid filling every convenient lane with the body merely to collect nearby food quickly. Keeping one broad exit can be more valuable than taking an optional detour. This is not an instruction to starve: the tail still sets a deadline. It is a reminder to compare food routes by their aftermath as well as their length.
The pocket that looks like free food
Consider a bait inside a U-shaped stretch of your own body. The centre cell may be empty and reachable, so the approach appears safe. After the bite, however, the head must leave while the body has just grown. Unless a side of the U opens in time, the successful bite can create the trap. Do not assume the tail will disappear merely because it looks faint; inspect its warning and leave a margin when uncertain. A different approach may let you enter with the head already pointed toward the opening. If no such approach is available before hunger becomes urgent, the situation is genuinely constrained. The useful lesson may lie in the earlier route that formed the U, rather than in the final turn. Review one bite before the collision, not just the cell where the run ended.
A focused practice attempt
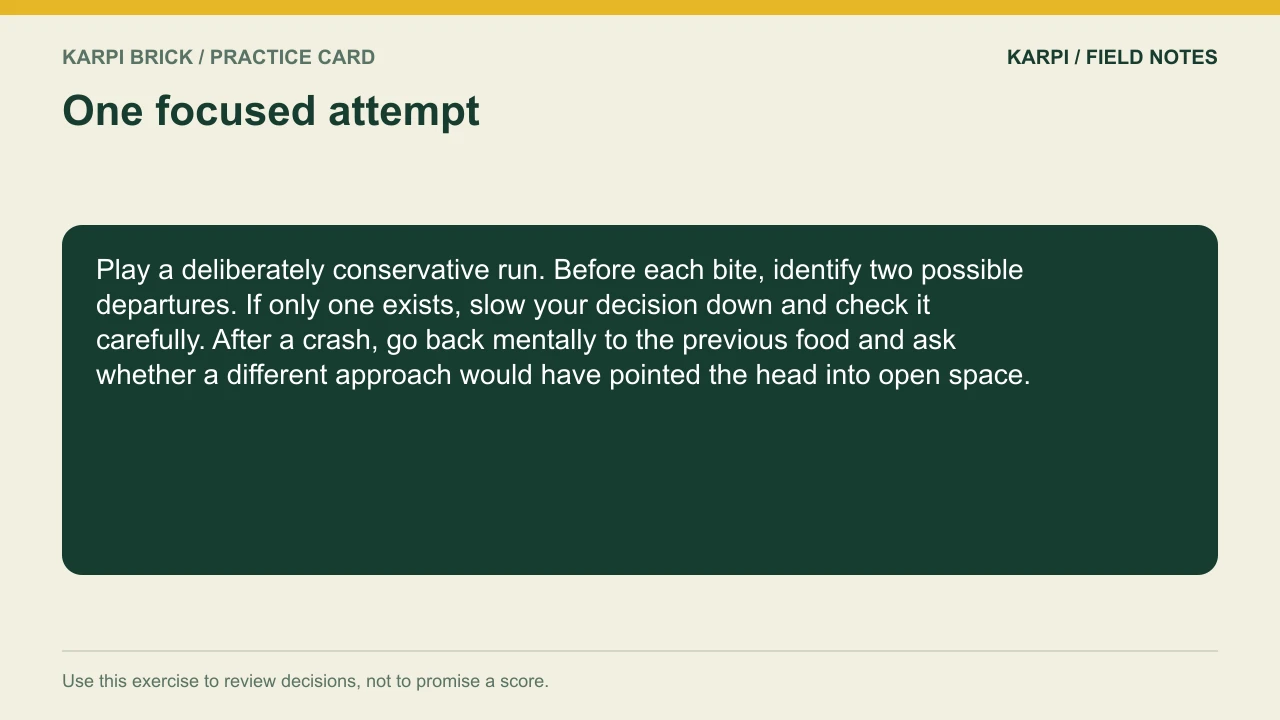
Play a deliberately conservative run. Before each bite, identify two possible departures. If only one exists, slow your decision down and check it carefully. After a crash, go back mentally to the previous food and ask whether a different approach would have pointed the head into open space.
At the console | What to use |
|---|---|
Open this cartridge | |
Main controls | Arrows or WASD steer; Space uses JUMP. The four edges wrap. |
Pause | START/PAUSE on the console; Enter or P on a keyboard |
Journey | 75 levels across eight chapters; read the goal and two extras |
Take it to the board: Play Snake and test one decision from this guide. The advice describes the current cartridge rules; a practice exercise is not a guaranteed score or clear.
 Take it to the gameBrick GameSnake, Blocks, Racer and Tank on a 90s handheldPlay free
Read next
Snake Gems vs Crystals: What Each Counter Actually Does For the series starting point, read Karpi Brick Snake: The Tail Is a Clock.