 KarpiGames Editorial
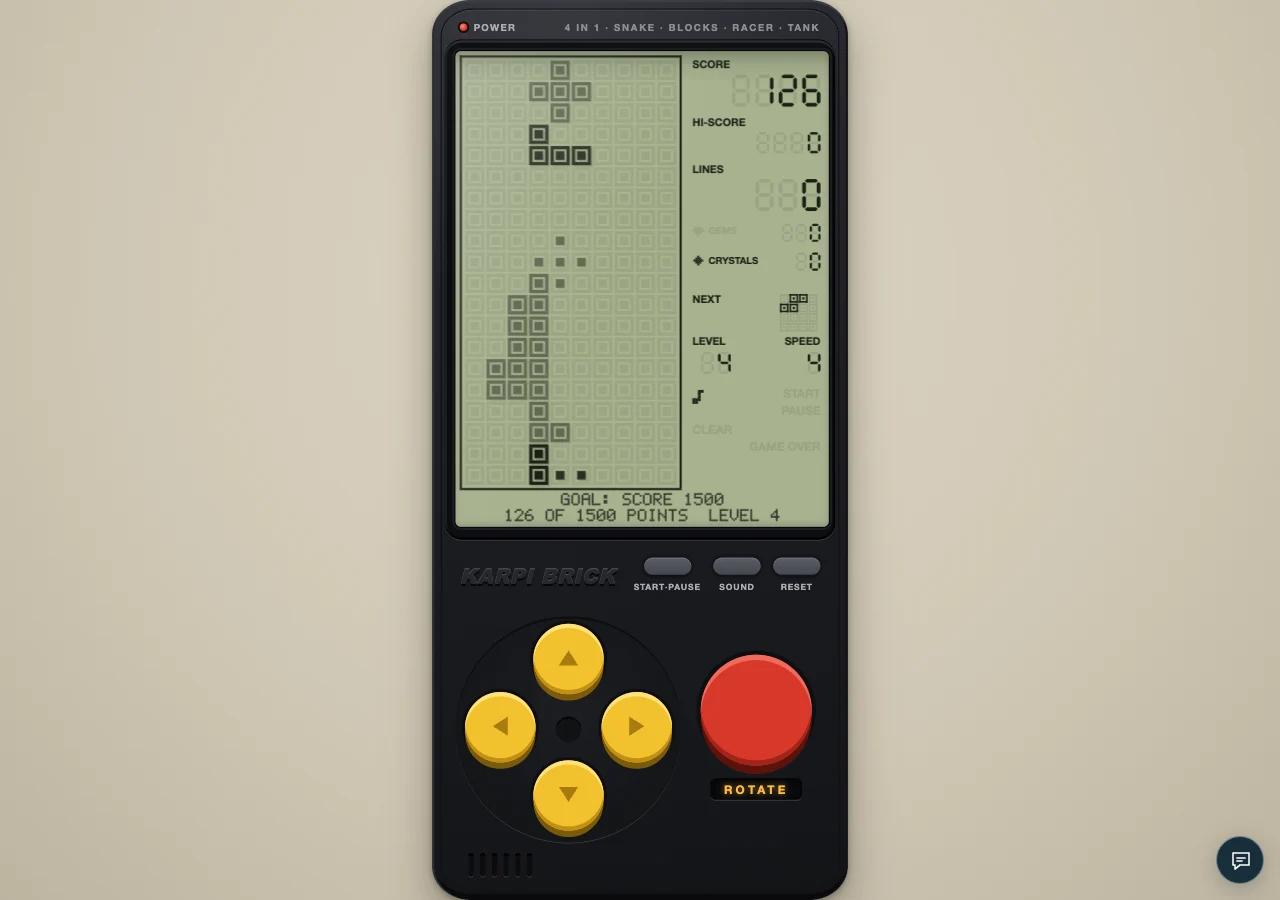
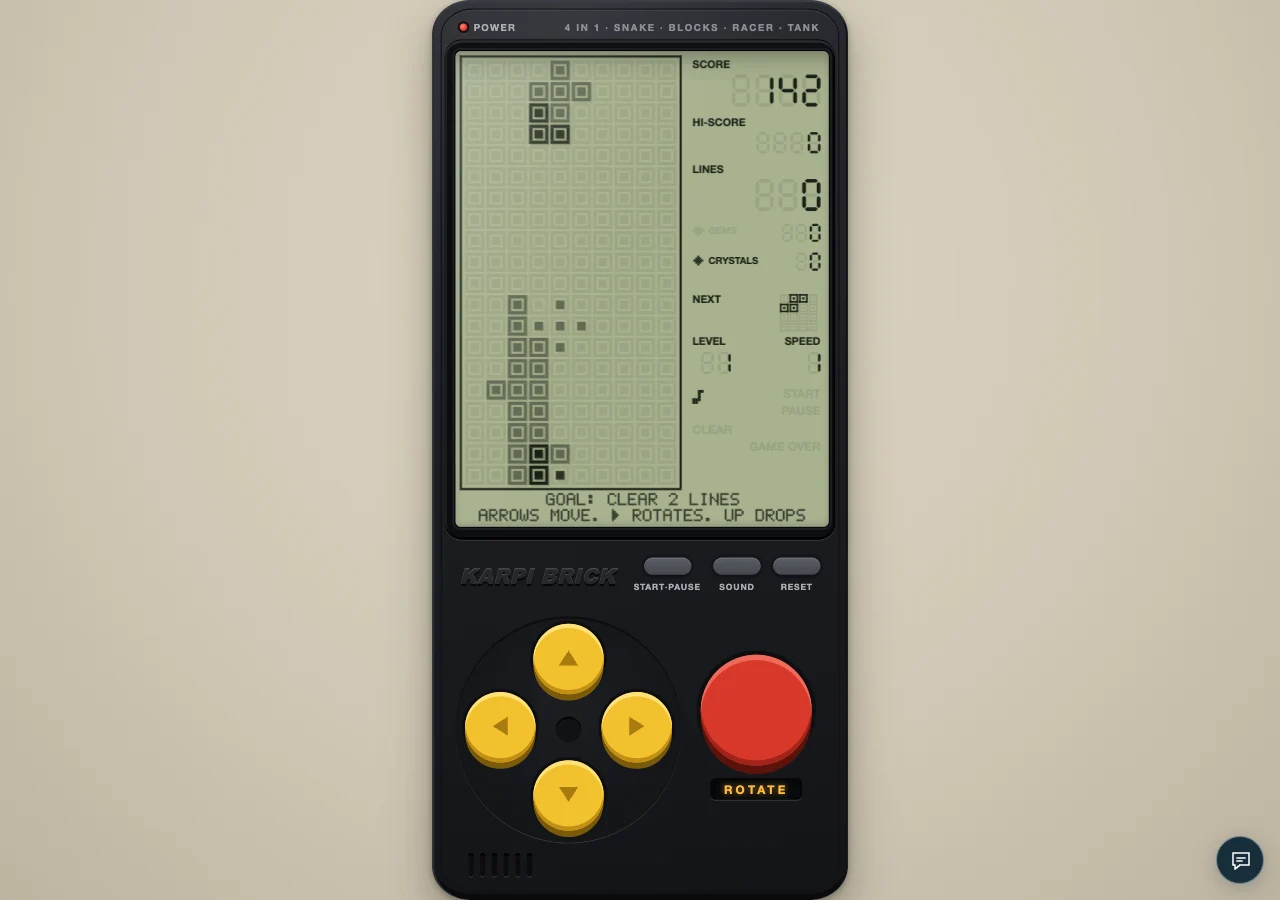
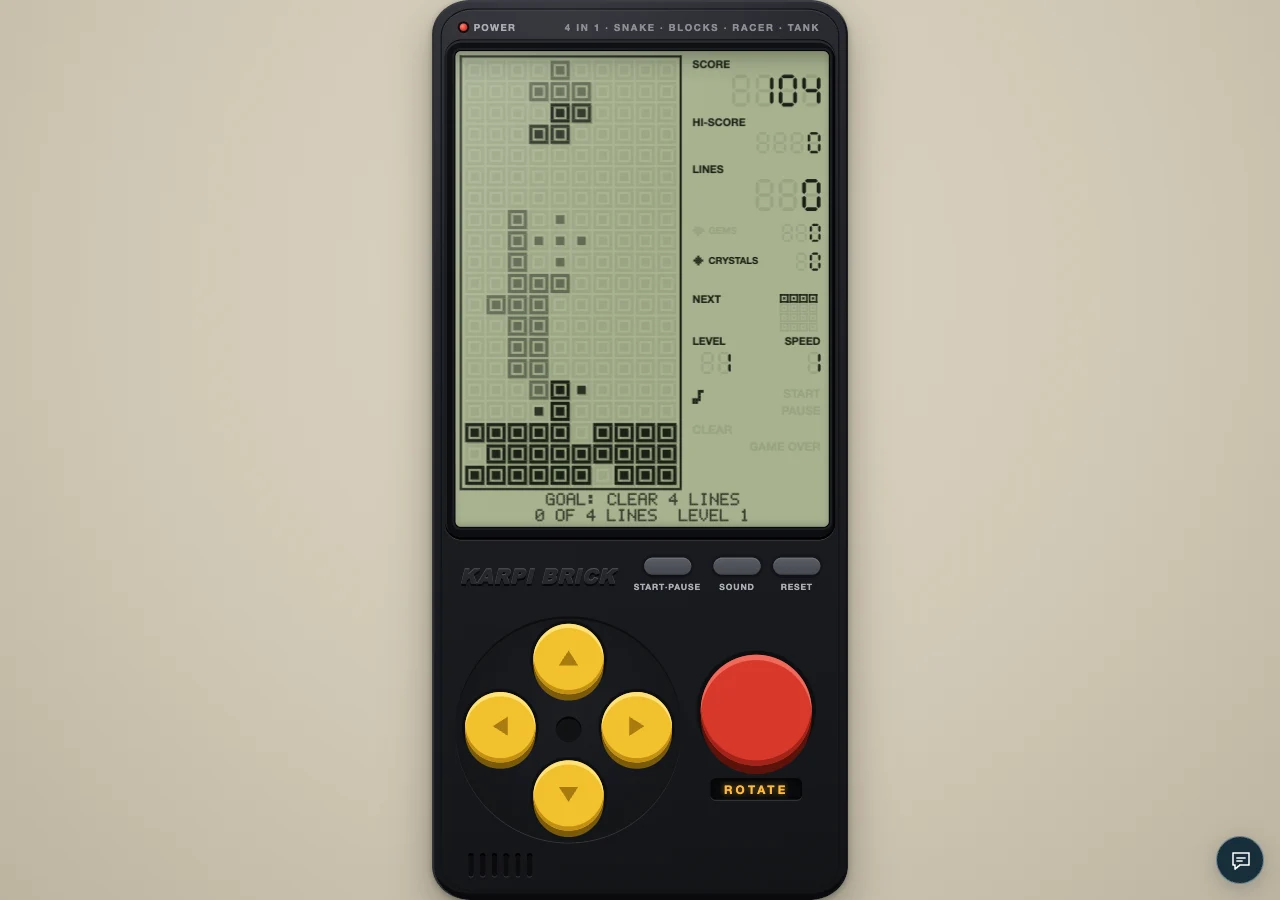
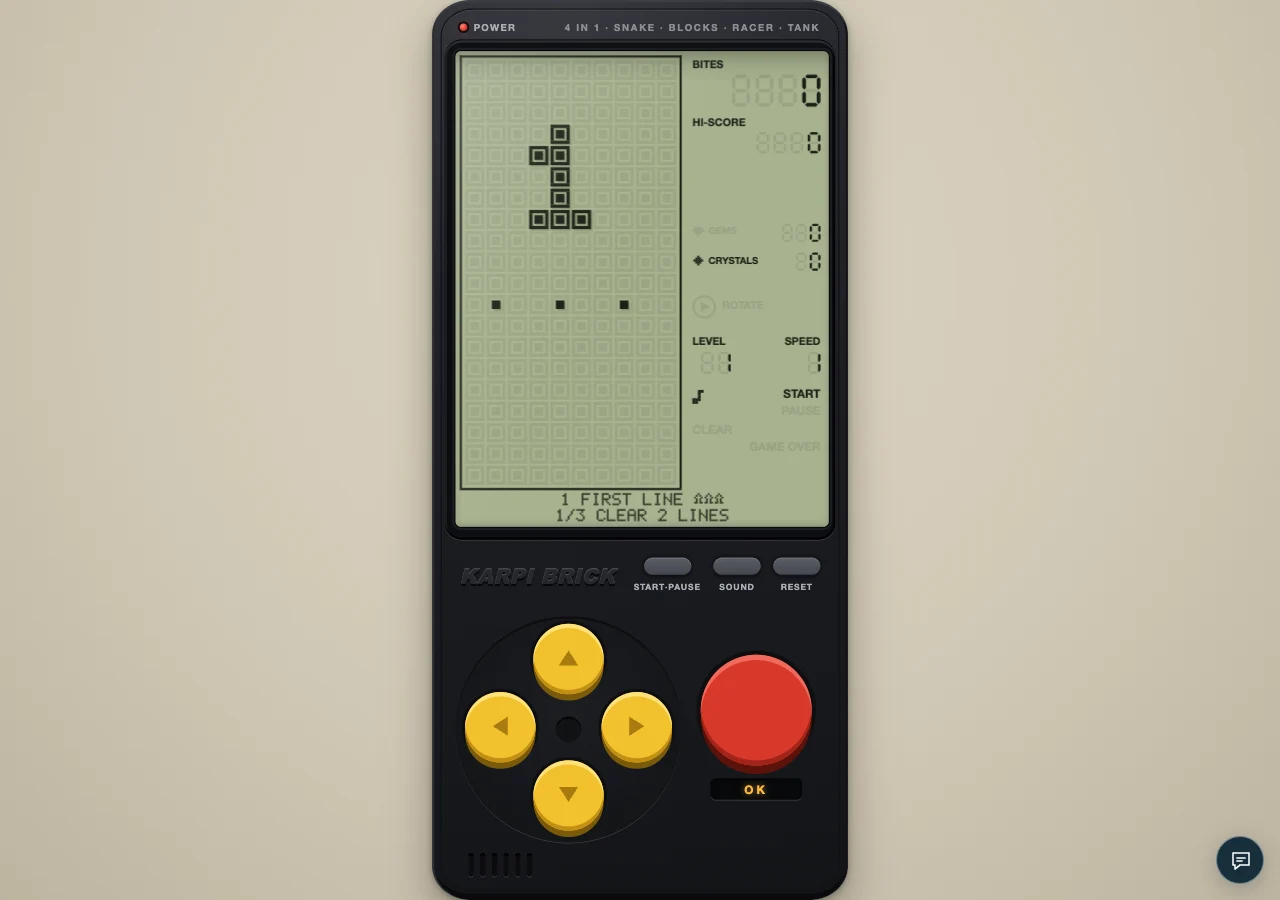
An authentic local capture of the cartridge. The visual guides below explain the decisions to look for.
Blocks really does accelerate as its level rises. The practical response is to make placement decisions earlier, while the piece still has space to move. Faster tapping cannot rescue a decision that begins only when the piece reaches the stack.
Separate falling speed from your plan
In the base rules, a piece falls at intervals that shrink with the level. Endless mode advances by cleared lines, and later journey stages can start faster. The geometry of a good landing does not change, but the time available to find it does. Look for the destination near spawn instead of studying several possibilities near the floor.
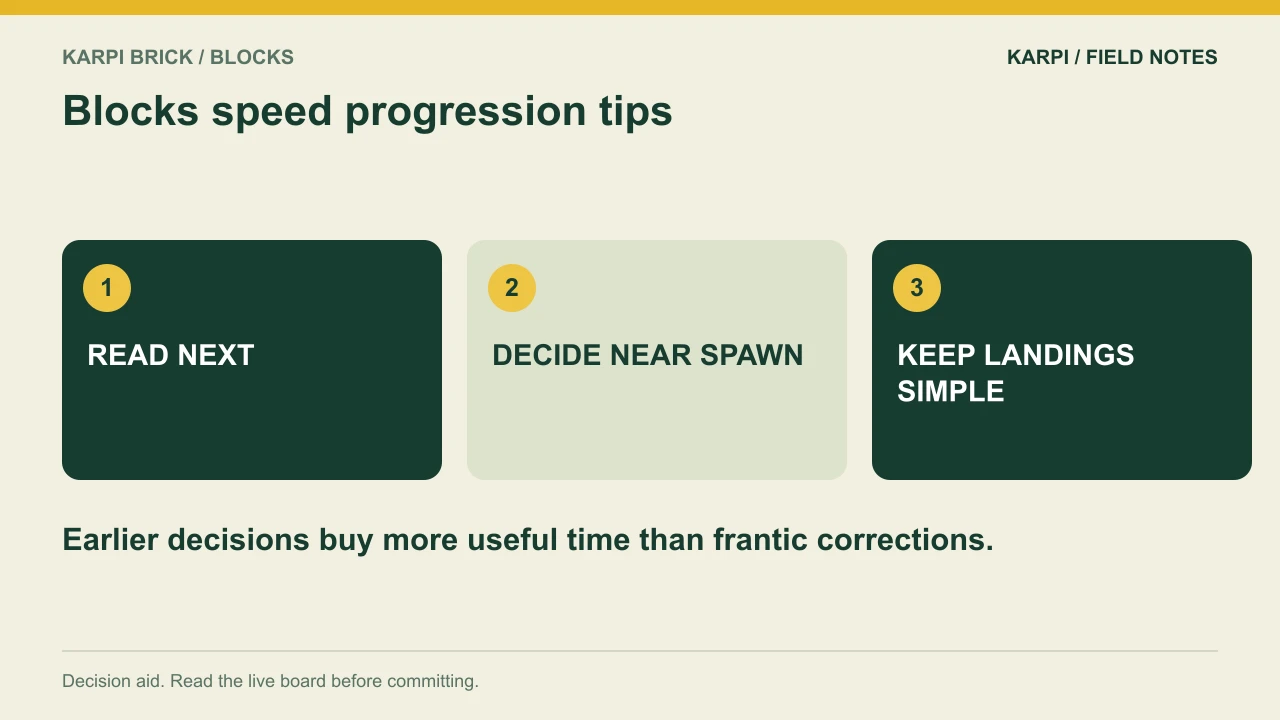
NEXT is advance notice
The preview gives you one piece of reliable future information. Before locking the current piece, identify an approximate home for the next one. You may revise that plan after a clear, but starting with an option is easier than beginning from nothing. Avoid a placement that leaves the next silhouette with only an awkward or high landing.
Keep the surface simple under pressure
Tall narrow peaks and deeply uneven valleys demand more precise movement and rotation. A broadly usable surface gives you more ordinary placements. This does not mean forcing every top cell to the same height. It means avoiding shapes in the stack that only one exact future piece can repair while the falling clock keeps shortening.
Do not let a score target become tunnel vision
QUICKER and RUSH use score goals, while HOLD ON asks you to survive. Read which task you are playing. On a survival stage, accepting a modest clear to stay low can be the right choice. On a score stage, look for efficient clears without sacrificing the ability to place the next piece.
Practise the decision before increasing the pace
Use a slower stage and set yourself an earlier decision deadline: by the time the piece reaches the upper-middle area, know its rough orientation and destination. Continue watching for corrections, but do not begin the search at the bottom. This rehearses the useful part of faster play without needing a harder board for every attempt. Then move to an available speed stage and compare where your plan breaks down. If the silhouette itself takes too long to recognise, practise rotations. If the destination keeps changing, simplify the stack. If you know the placement but miss the input, practise the control sequence. These are different bottlenecks. Treating all three as a reflex problem can make practice feel intense without making it more targeted.
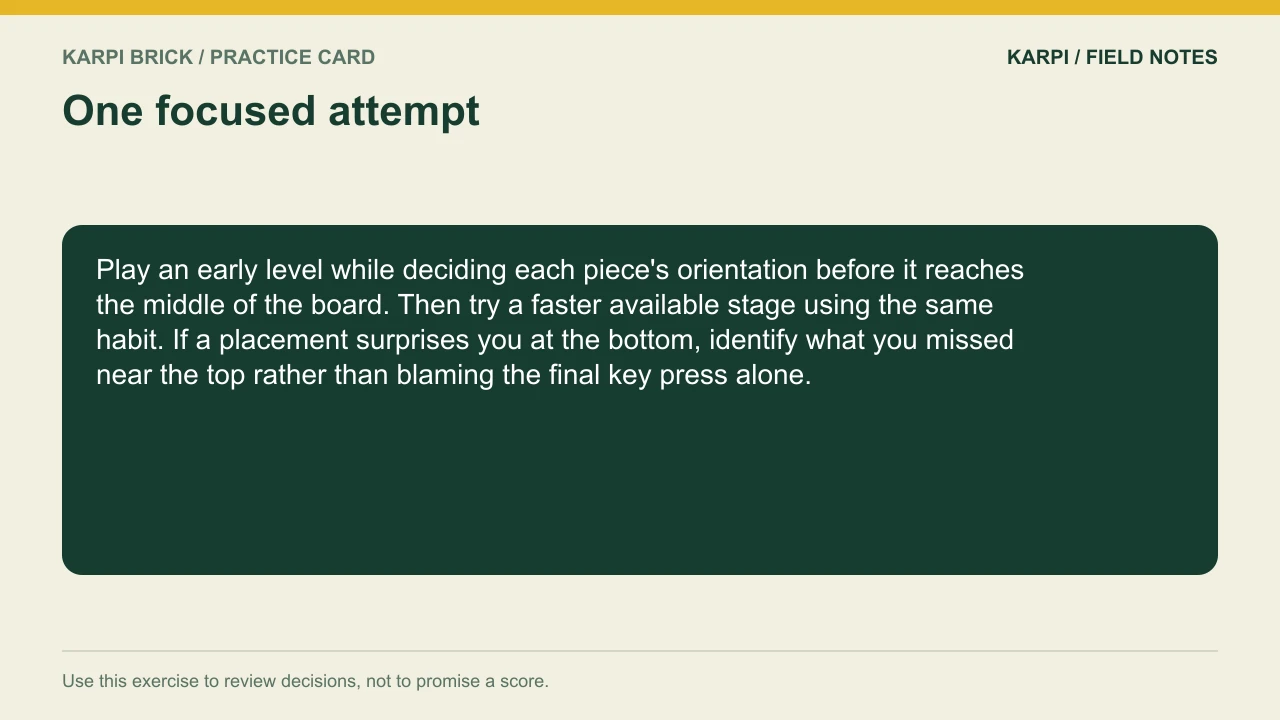
A focused practice attempt
Play an early level while deciding each piece's orientation before it reaches the middle of the board. Then try a faster available stage using the same habit. If a placement surprises you at the bottom, identify what you missed near the top rather than blaming the final key press alone.
At the console | What to use |
|---|---|
Open this cartridge | |
Main controls | Left/right move; Down soft-drops; Up hard-drops; Space or the red key rotates. |
Pause | START/PAUSE on the console; Enter or P on a keyboard |
Journey | 12 levels across three chapters; read the goal and two extras |
Take it to the board: Play Blocks and test one decision from this guide. The advice describes the current cartridge rules; a practice exercise is not a guaranteed score or clear.
 Take it to the gameBrick GameSnake, Blocks, Racer and Tank on a 90s handheldPlay free
Read next
Blocks Journey: Twelve Levels, Three Different Tests For the series starting point, read Karpi Brick Blocks: Build a Floor, Not a Tower.