 KarpiGames Editorial
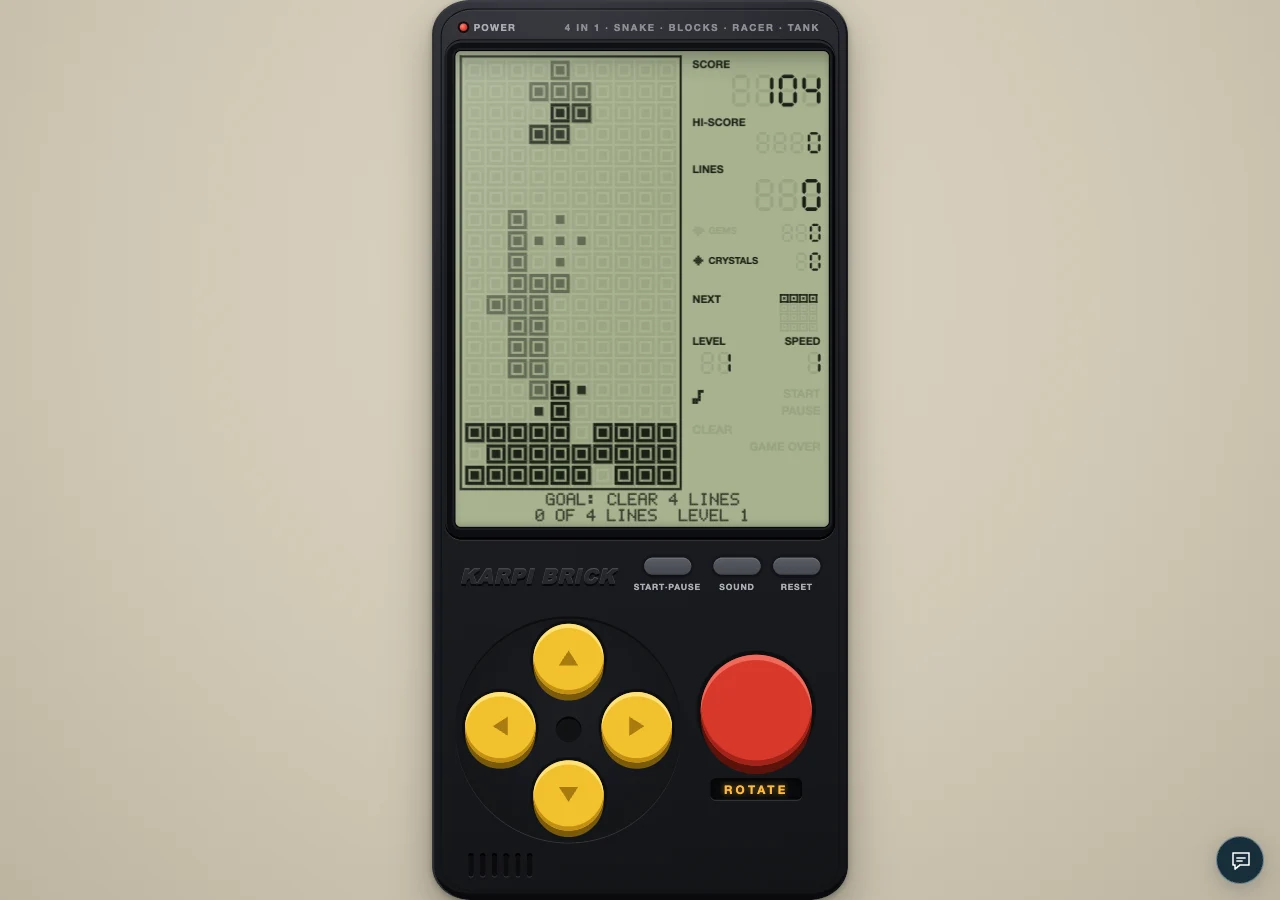
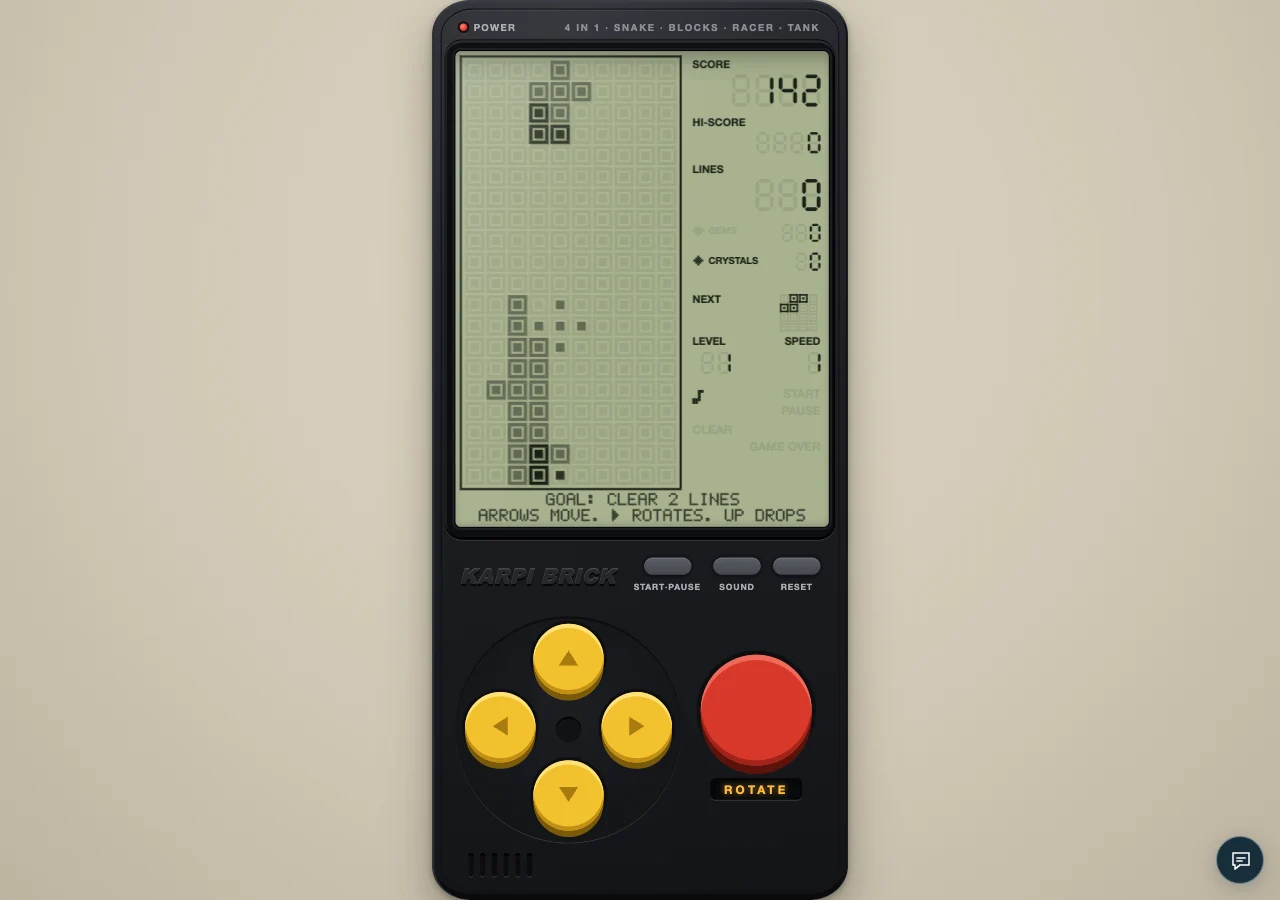
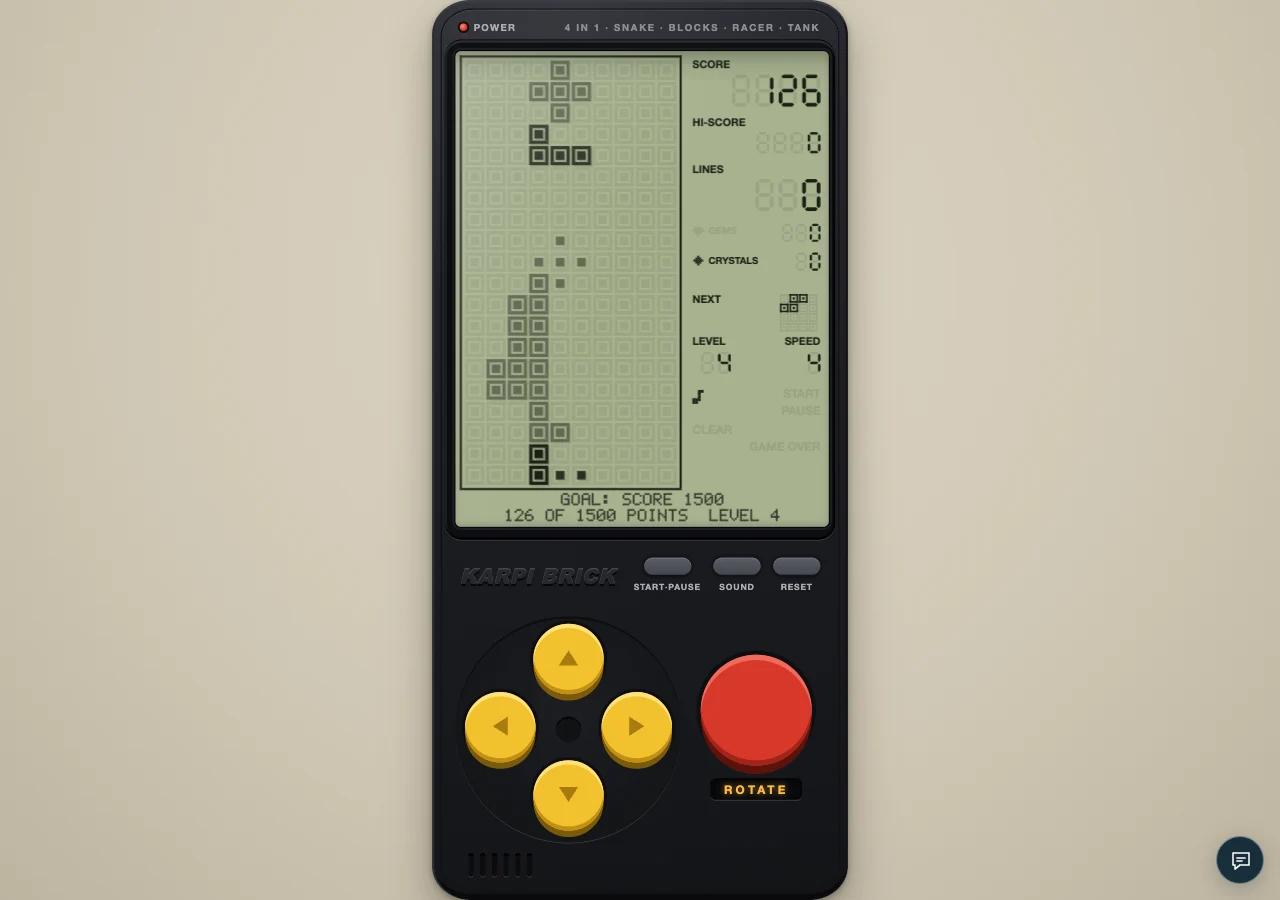
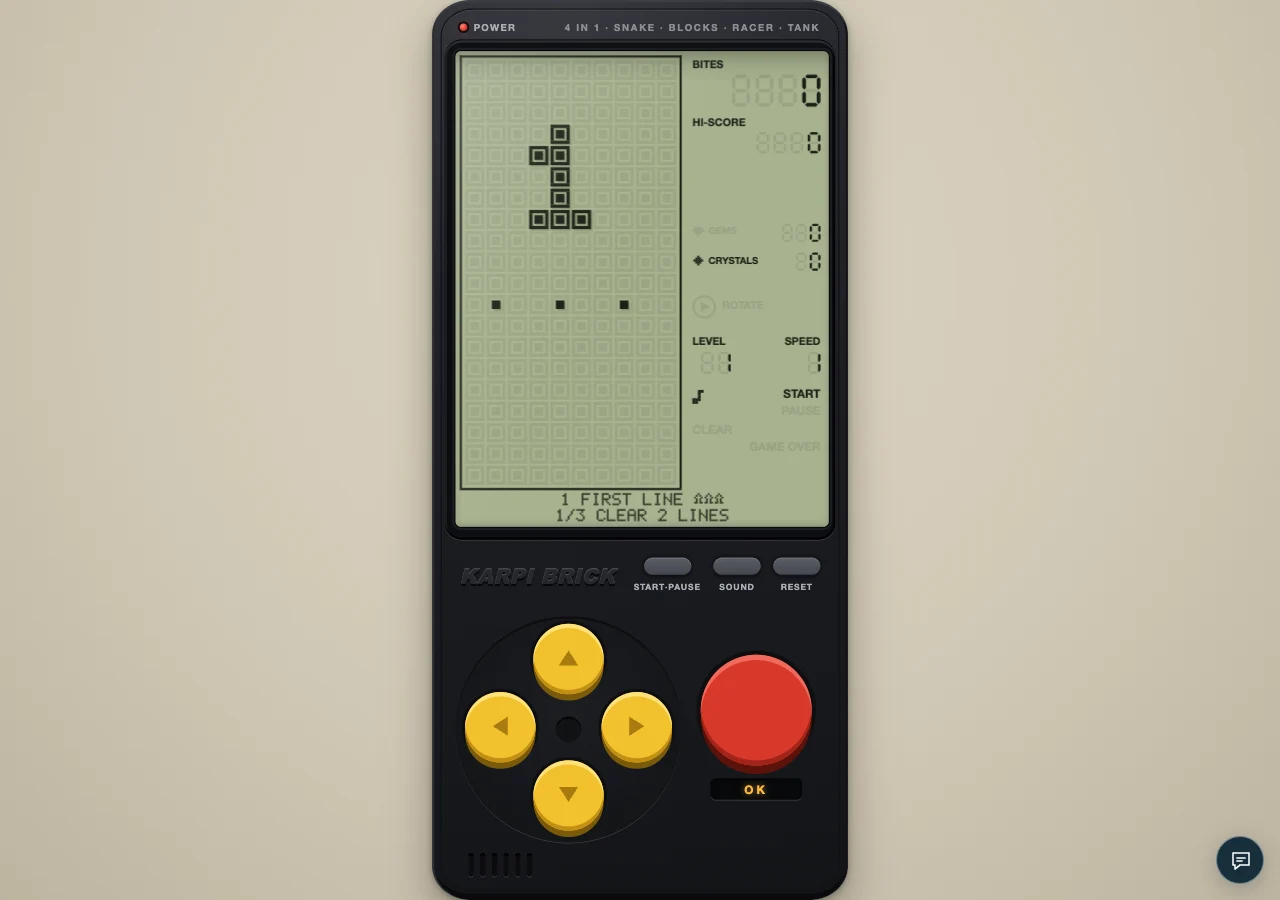
An authentic local capture of the cartridge. The visual guides below explain the decisions to look for.
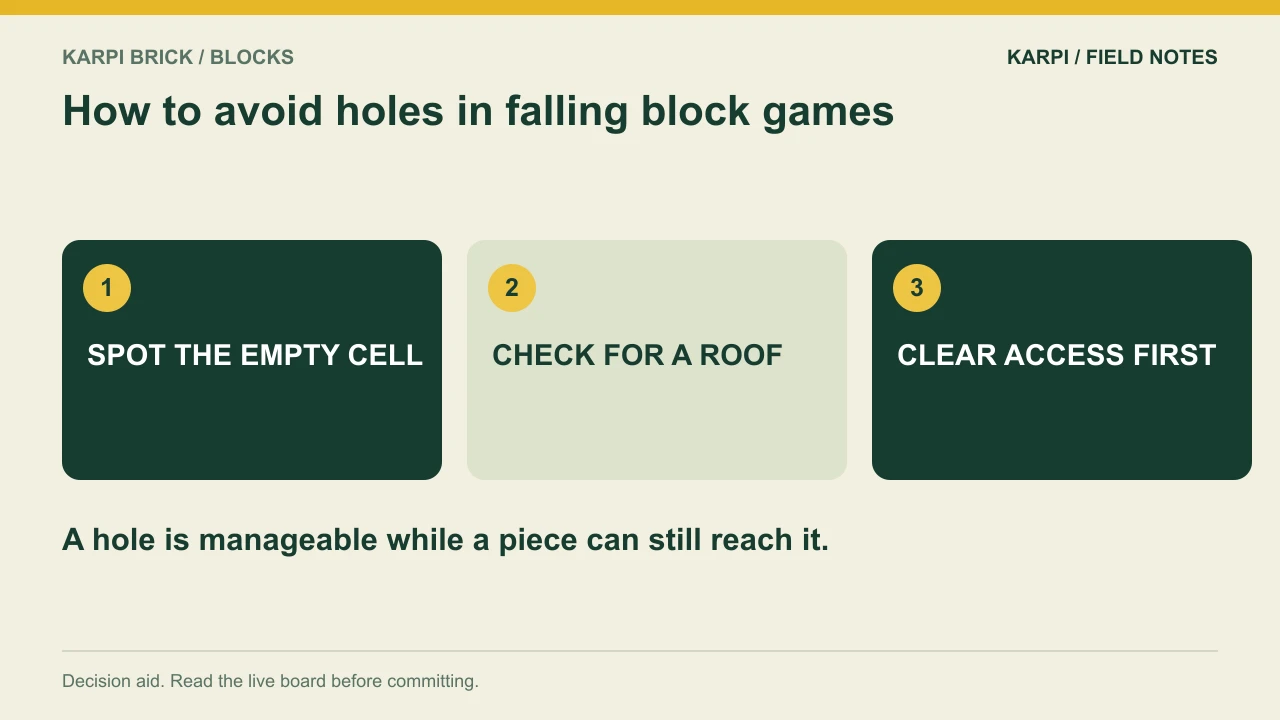
The dangerous hole in Blocks is an empty cell with a roof. You can see open gaps and plan for them; a buried gap forces you to clear what sits above it. Before dropping, inspect the underside of the placement.
A low stack can still be unhealthy
Height is easy to notice, but it is not the only measure of danger. A low stack full of covered cells may need several clears before it becomes usable again. A somewhat taller stack with open channels can offer more choices. Judge the surface and the spaces beneath it together rather than congratulating yourself only for staying below the top.
Follow the landing shadow downward
The shadow shows the final landing position, including the effect of any protruding cells beneath it. Trace each part of the piece to its support. If one arm rests high while another hangs over a gap, that gap may become buried. Move or rotate before hard dropping if another placement leaves the empty cells reachable.
Do not repair one hole by making two
A rescue placement can look attractive because it completes a row near the top. Check what remains after the clear. If the piece also caps an open channel, you may trade a visible problem for a harder hidden one. Prefer repairs that reduce the number of buried spaces or expose a route into the existing ones.
Use small clears to reopen the board
A single-row clear is useful when it removes the roof over a problem cell. You do not need a large scoring event for the move to be strategically good. Ask what the board will allow afterward. The best repair often changes an inaccessible cell into an ordinary open gap that the next pieces can address.
A repair can begin above the hole
Suppose an empty cell is buried two rows below the top of a stack. You cannot drop a piece through occupied cells to reach it. First look for a clear in the covering rows. A shape that completes the upper row may expose the lower problem after the clear, even if it does not fill the hole immediately. This is why a repair sequence can look indirect. Judge the move by what becomes reachable afterward. If the current piece instead adds another roof above the same column, you may be extending the repair by another row. Before locking, mentally remove any completed lines and inspect the surface that remains. That small prediction turns a vague hope of recovery into a concrete plan: clear this layer, expose that opening, then use a later piece to fill it.
A focused practice attempt
For one run, count newly buried holes after every placement. Do not aim for zero at any cost; sometimes a compromise is necessary. Instead, explain why you accepted each one and how it could become accessible again. If there is no plausible repair, reconsider that placement next time.
At the console | What to use |
|---|---|
Open this cartridge | |
Main controls | Left/right move; Down soft-drops; Up hard-drops; Space or the red key rotates. |
Pause | START/PAUSE on the console; Enter or P on a keyboard |
Journey | 12 levels across three chapters; read the goal and two extras |
Take it to the board: Play Blocks and test one decision from this guide. The advice describes the current cartridge rules; a practice exercise is not a guaranteed score or clear.
 Take it to the gameBrick GameSnake, Blocks, Racer and Tank on a 90s handheldPlay free
Read next
Blocks Hard Drop vs Soft Drop: Know the Commitment For the series starting point, read Karpi Brick Blocks: Build a Floor, Not a Tower.