 KarpiGames Editorial
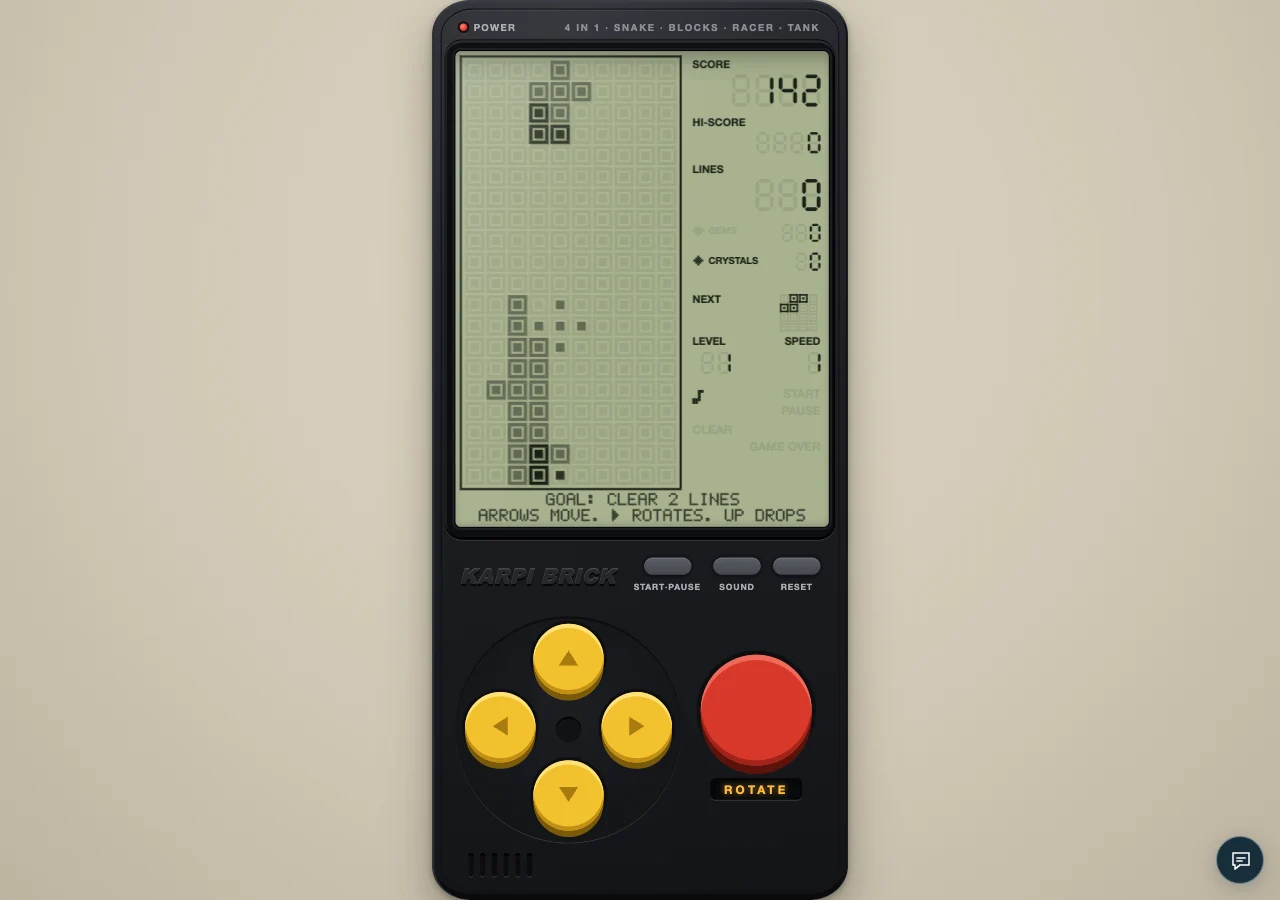
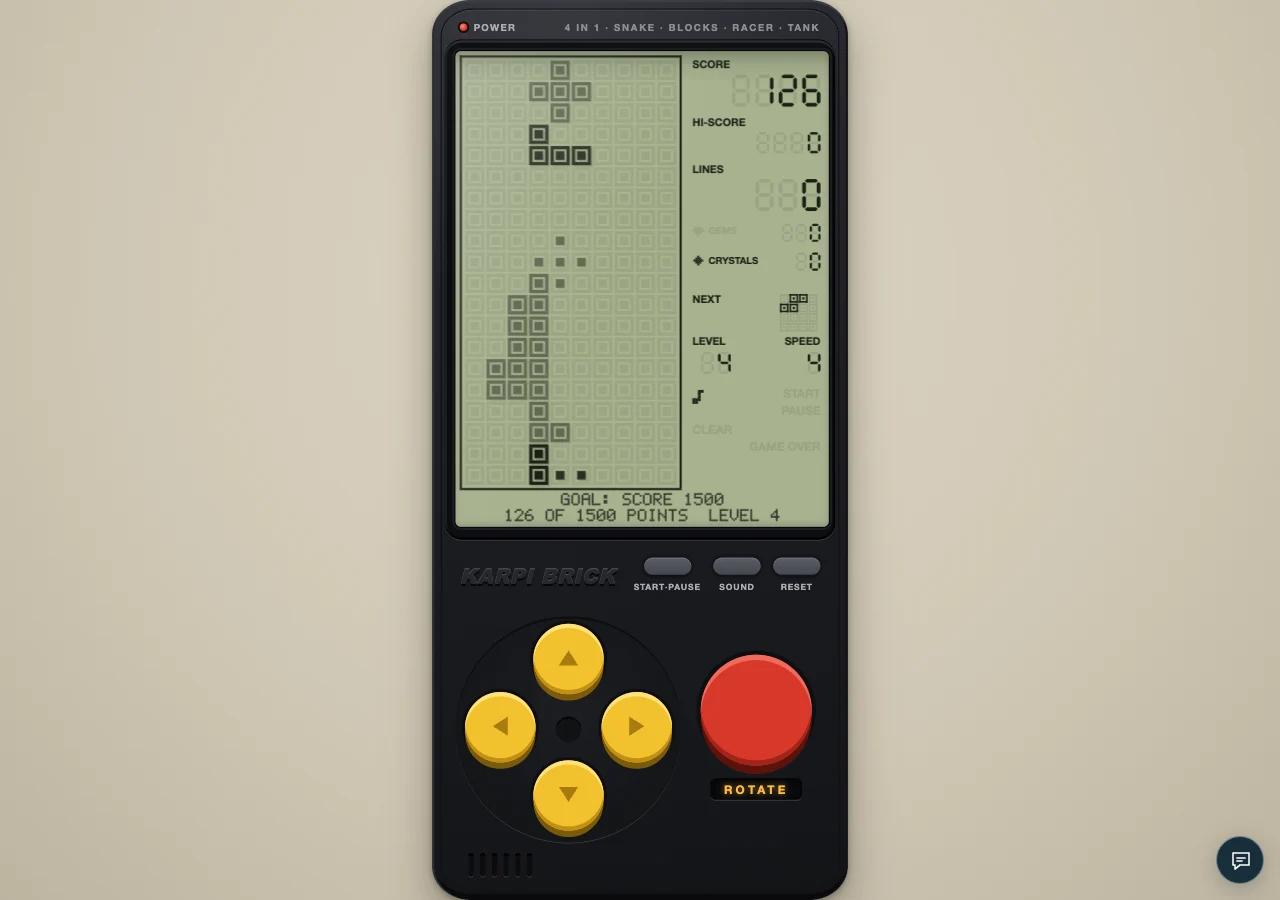
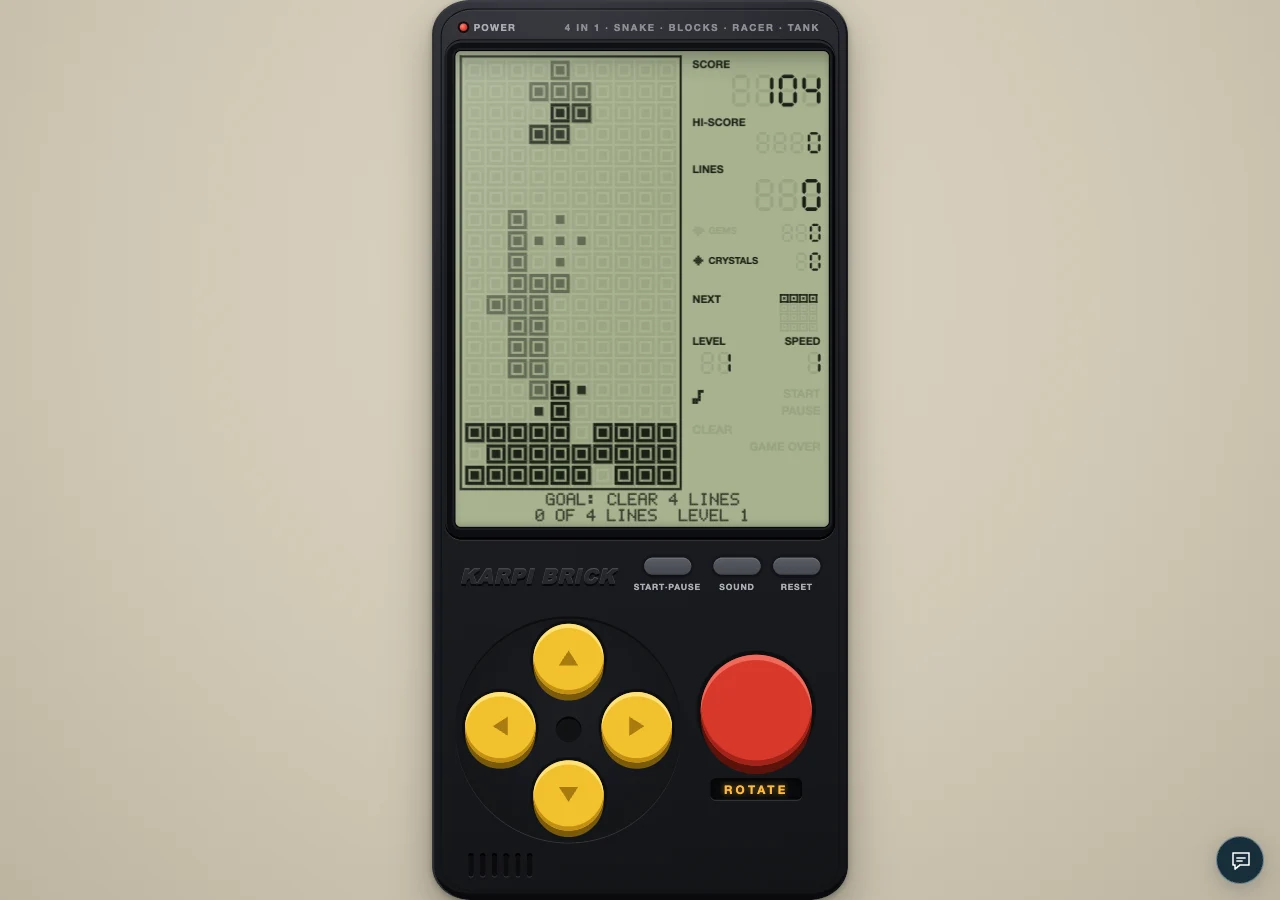
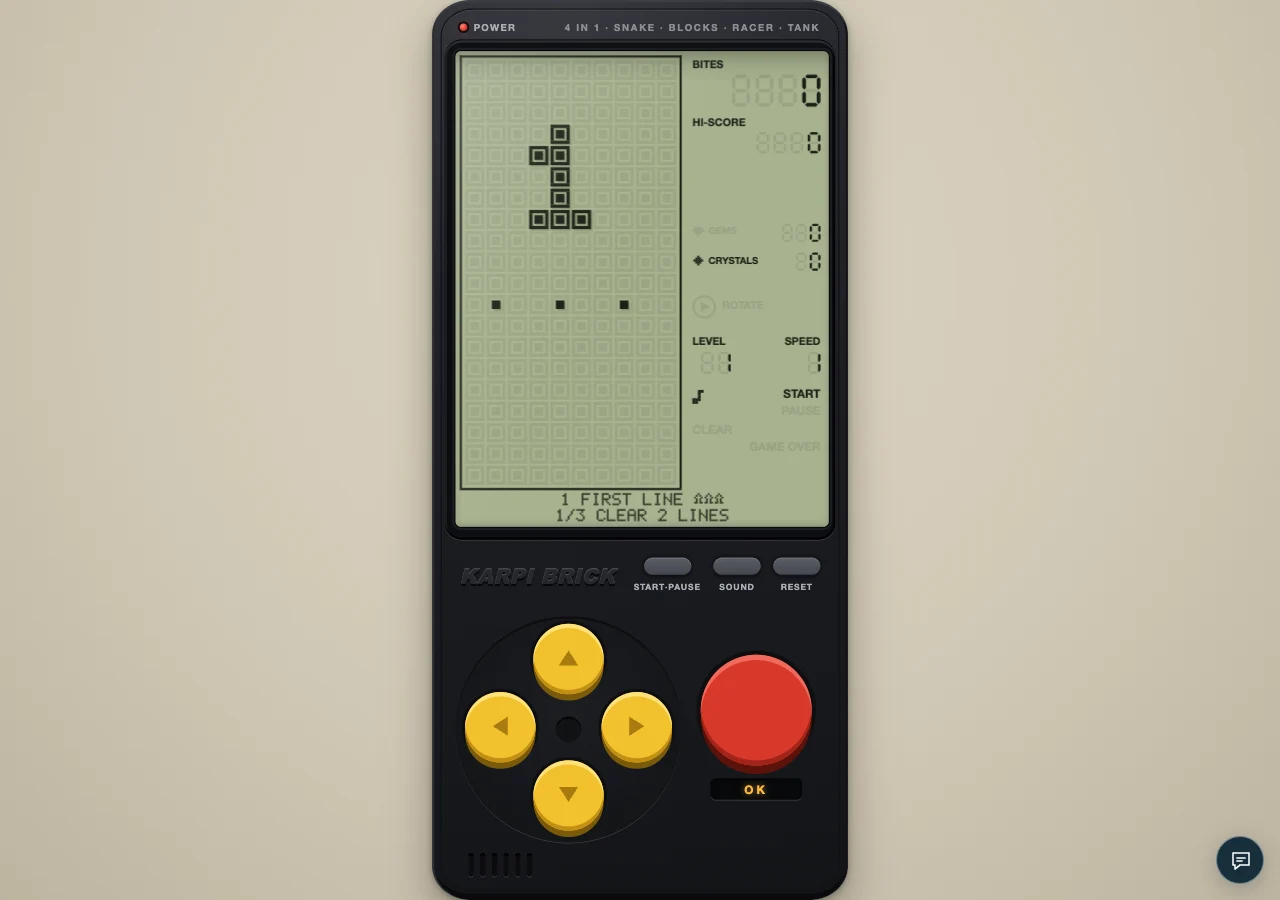
An authentic local capture of the cartridge. The visual guides below explain the decisions to look for.
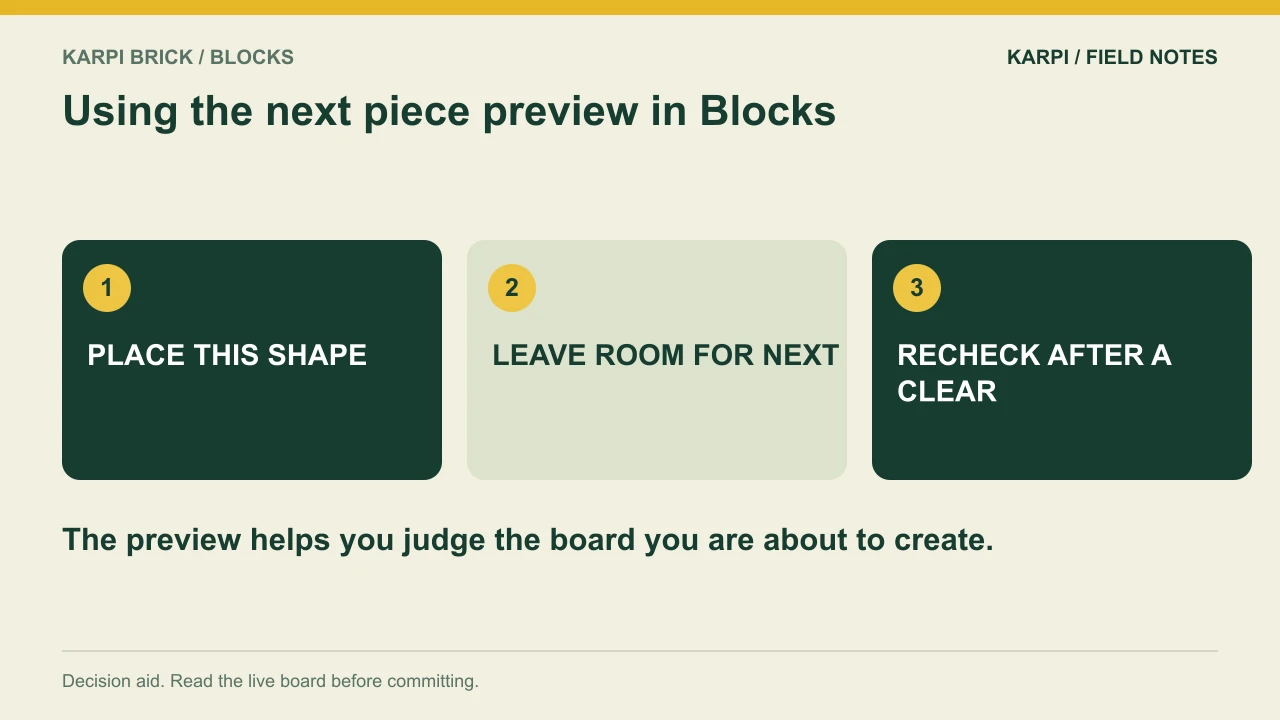
The NEXT preview is a promise about the immediate successor, not a decoration beside the score. Use it to judge what your current placement leaves behind. A move is stronger when both the active piece and the next piece have a workable home.
Think one placement further
Before locking the active piece, glance at the next silhouette. Will your chosen landing create a surface that accepts it? You do not need an elaborate sequence several pieces long. A simple two-piece plan can prevent the common problem of making a tidy current move that leaves the next shape stranded above an awkward gap.
Prefer flexible outcomes
Sometimes the next piece fits in more than one place. Preserve that flexibility when possible. A stack with several accessible landing areas is easier to manage than a single high well that must be filled in exactly one way. The preview reduces uncertainty, but the board after that piece still needs to remain usable.
Recheck after a row disappears
A clear changes the surface. Your original idea for NEXT may become unnecessary or worse than a newly opened landing. Treat the preview plan as a starting point, then read the board that actually remains. Good planning includes revision; it does not require following an earlier guess after the geometry has changed.
Do not confuse the preview with a long forecast
You know the next shape, not an endless sequence of favourable pieces. The shuffled set is useful background, but it does not make a desperate wait safe. If the board is approaching the spawn, take a sensible clear or a lower placement now. A theoretical future rescue cannot help if the next piece has nowhere to enter.
Use a two-piece thought experiment
Suppose the active square can land either on the left or the right, and NEXT shows the plus. Both square placements may be legal, but one may leave a central notch that suits the plus while the other flattens or buries it. Compare those resulting surfaces before dropping. You are not predicting the entire future bag; you are using information the screen already gives you. If the square clears a row, update the plan from the new surface rather than insisting on the original notch. This approach is deliberately limited to keep it usable at speed. A small plan that you can execute and revise is better than an elaborate chain that depends on several unseen pieces. The preview should reduce uncertainty in the next move, not encourage a tower built around a distant hope.
A focused practice attempt
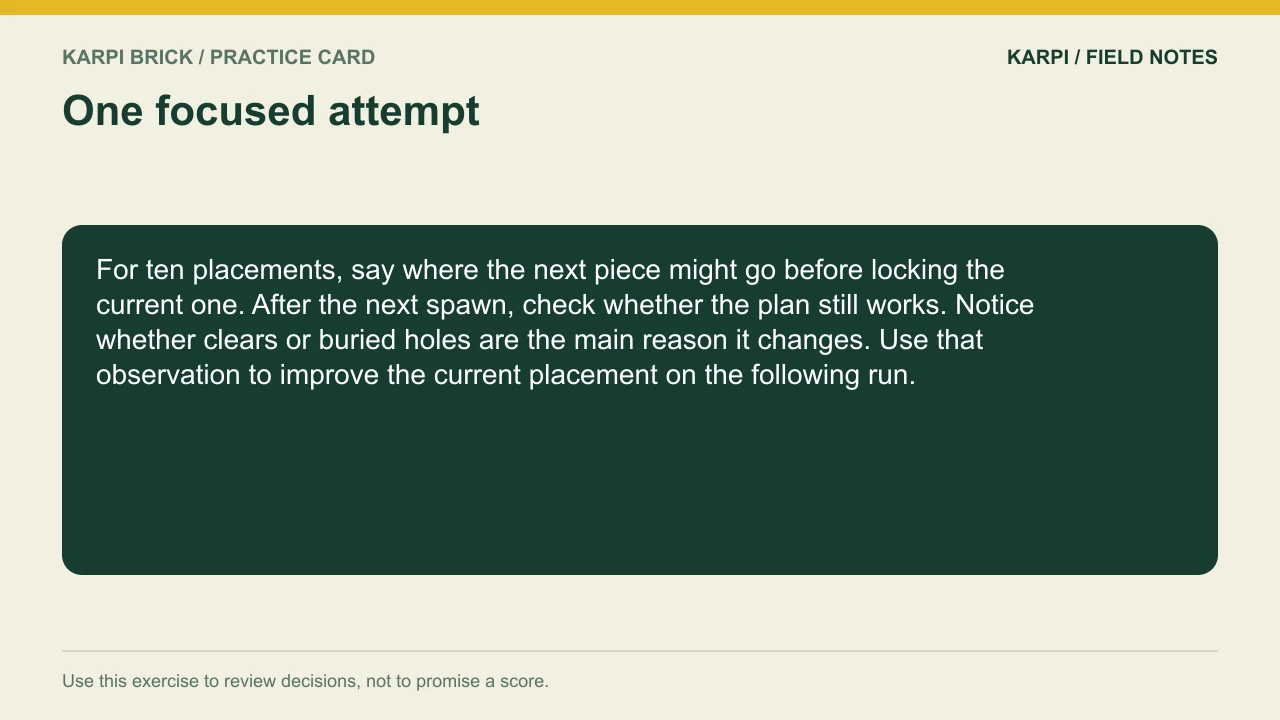
For ten placements, say where the next piece might go before locking the current one. After the next spawn, check whether the plan still works. Notice whether clears or buried holes are the main reason it changes. Use that observation to improve the current placement on the following run.
At the console | What to use |
|---|---|
Open this cartridge | |
Main controls | Left/right move; Down soft-drops; Up hard-drops; Space or the red key rotates. |
Pause | START/PAUSE on the console; Enter or P on a keyboard |
Journey | 12 levels across three chapters; read the goal and two extras |
Take it to the board: Play Blocks and test one decision from this guide. The advice describes the current cartridge rules; a practice exercise is not a guaranteed score or clear.
 Take it to the gameBrick GameSnake, Blocks, Racer and Tank on a 90s handheldPlay free
Read next
Blocks Rescue Plan: What to Do When the Stack Gets High For the series starting point, read Karpi Brick Blocks: Build a Floor, Not a Tower.