 KarpiGames Editorial
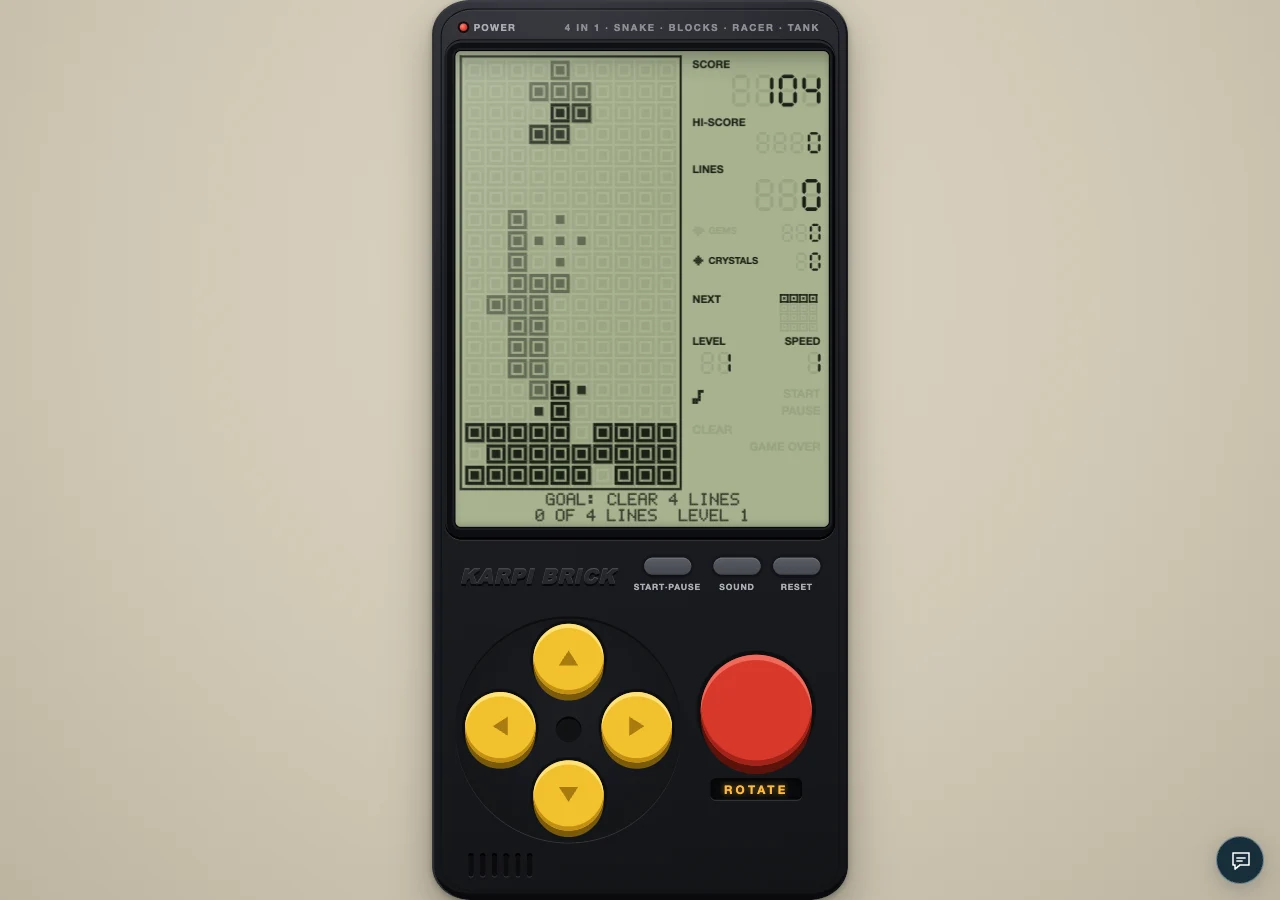
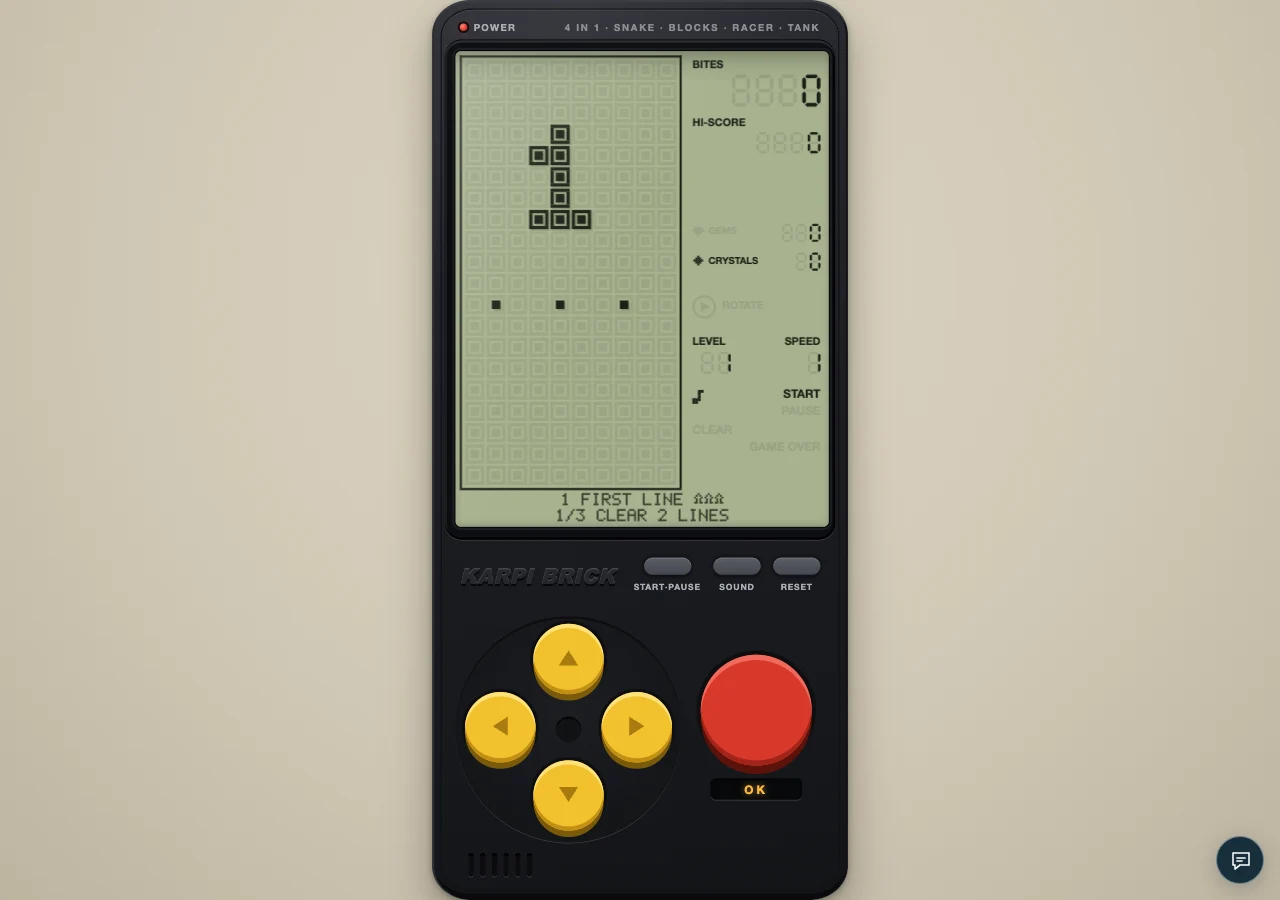
An authentic local capture of the cartridge. The visual guides below explain the decisions to look for.
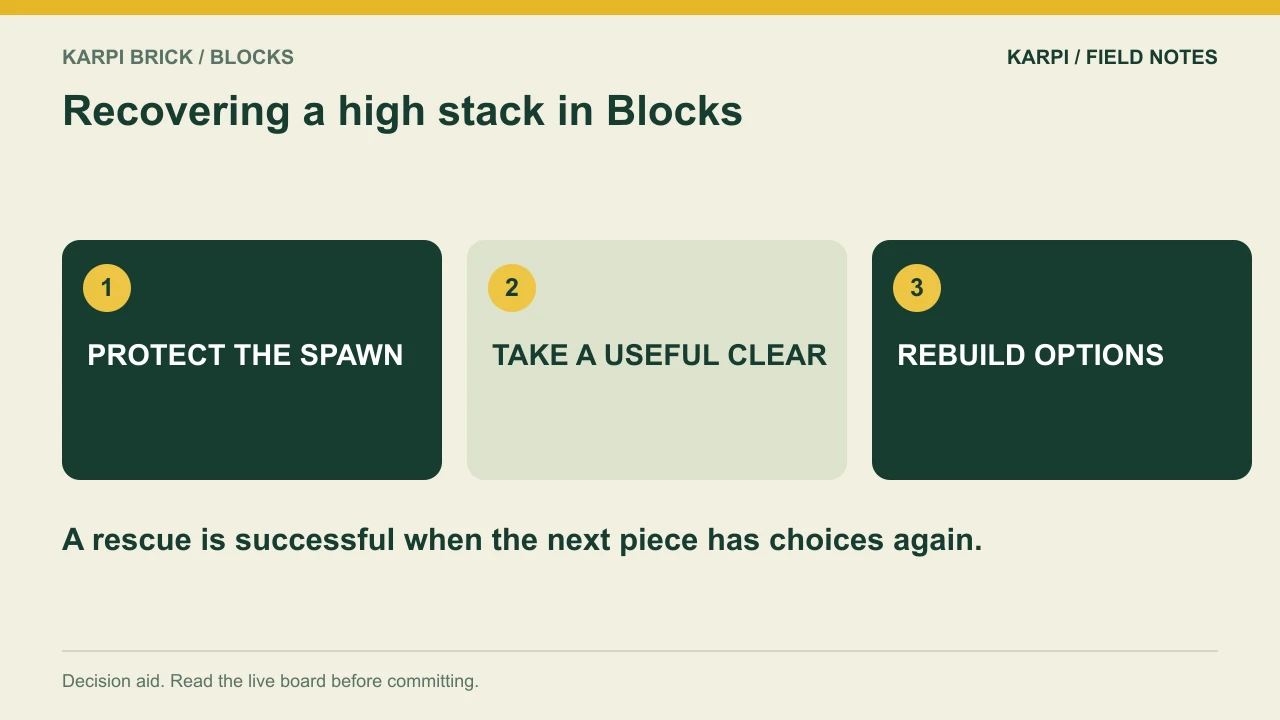
When a Blocks stack gets high, stop planning the biggest possible clear and protect the next spawn. Find the simplest available row, reduce the worst peak, and keep accessible gaps open. Recovery begins with preserving another placement.
Locate the immediate danger
A high stack is not uniformly dangerous. Identify which columns block the area where a new piece enters and which landing would raise that area further. The low side of the board may offer a temporary home, but check whether moving there is actually possible for the current shape. A plan that ignores the piece's path is not a rescue.
Take useful small clears
A single row can lower the stack enough to restore choices. It can also expose a buried hole that was preventing further clears. Look for that concrete benefit rather than rejecting a small score. A recovery attempt is about space first. Once the board is healthier, you can return to seeking multi-row bonuses.
Avoid creating a new roof
Panic placements often make the surface look flatter while covering a gap. That may defer the problem for one piece and worsen it for the next. Trace the underside before dropping. If every option has a cost, choose the one with a plausible repair and the most room near the spawn, rather than the one that merely looks neat.
Use the result as a diagnosis
If the rescue fails, identify the earlier placement that first raised the dangerous peak or buried the key cell. The final piece may have had no reasonable answer. That means the useful lesson belongs several turns earlier. Practising those decisions is more productive than repeatedly trying to escape the same impossible last position.
Choose the repair that creates another choice
Imagine the active piece can complete a single row on the left or extend a tall well on the right in hope of a future large clear. If the spawn area is already cramped, the immediate row may be the stronger rescue because it lowers the board now. Inspect the remaining cells after that clear: does it expose a hole, flatten the worst peak or give NEXT a new landing? Those are concrete gains. If it only shifts the danger to another column, the rescue is incomplete. Sometimes every legal placement leaves a difficult board; acknowledge that instead of inventing a guaranteed recovery. The review should then move earlier in the run to the placement that removed your options. Learning to recognise that turning point is more repeatable than relying on a fortunate final piece.
A focused practice attempt
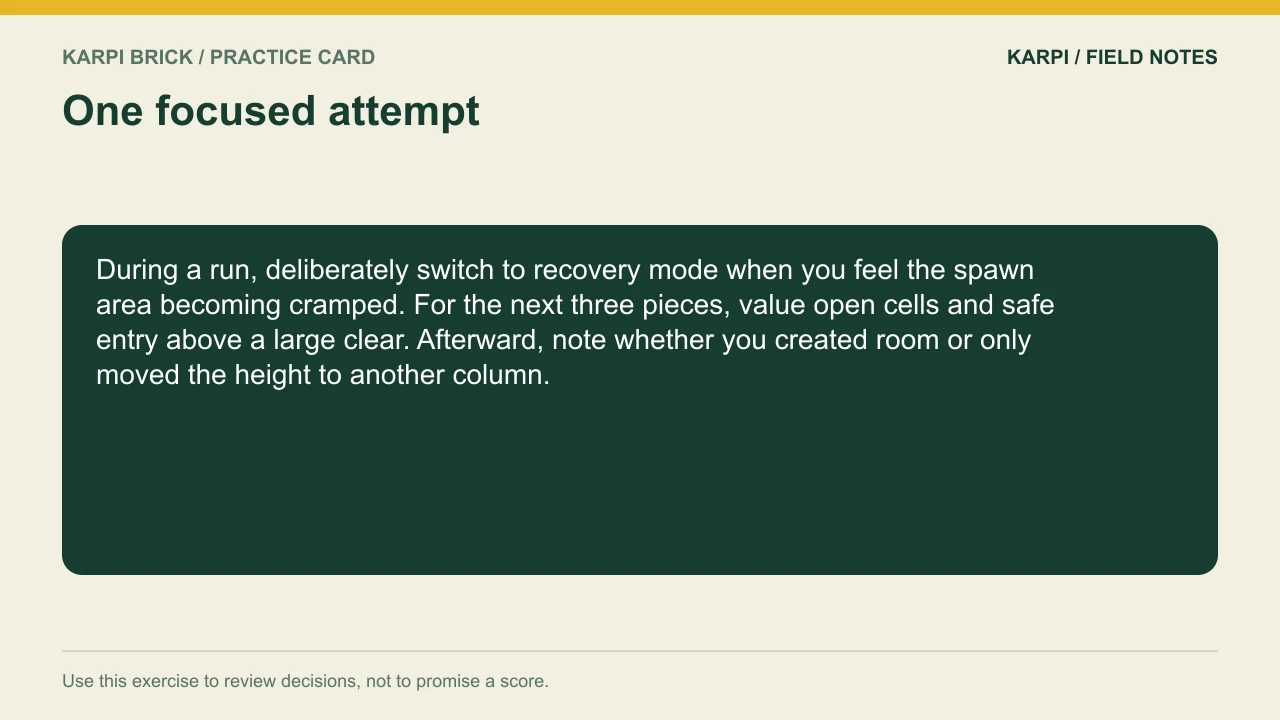
During a run, deliberately switch to recovery mode when you feel the spawn area becoming cramped. For the next three pieces, value open cells and safe entry above a large clear. Afterward, note whether you created room or only moved the height to another column.
At the console | What to use |
|---|---|
Open this cartridge | |
Main controls | Left/right move; Down soft-drops; Up hard-drops; Space or the red key rotates. |
Pause | START/PAUSE on the console; Enter or P on a keyboard |
Journey | 12 levels across three chapters; read the goal and two extras |
Take it to the board: Play Blocks and test one decision from this guide. The advice describes the current cartridge rules; a practice exercise is not a guaranteed score or clear.
 Take it to the gameBrick GameSnake, Blocks, Racer and Tank on a 90s handheldPlay free
Read next
Karpi Brick Blocks: Build a Floor, Not a Tower For the series starting point, read Karpi Brick Blocks: Build a Floor, Not a Tower.