 KarpiGames Editorial
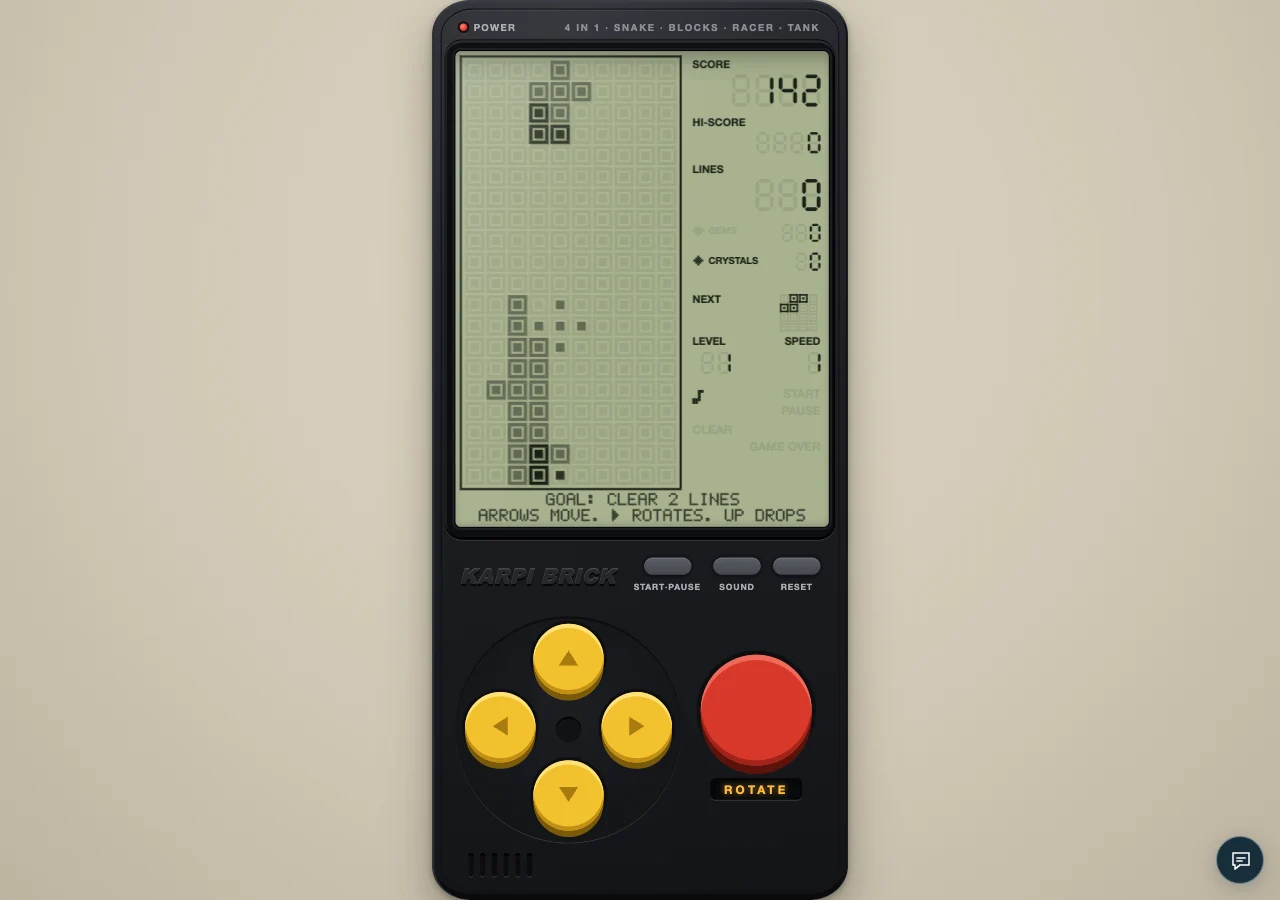
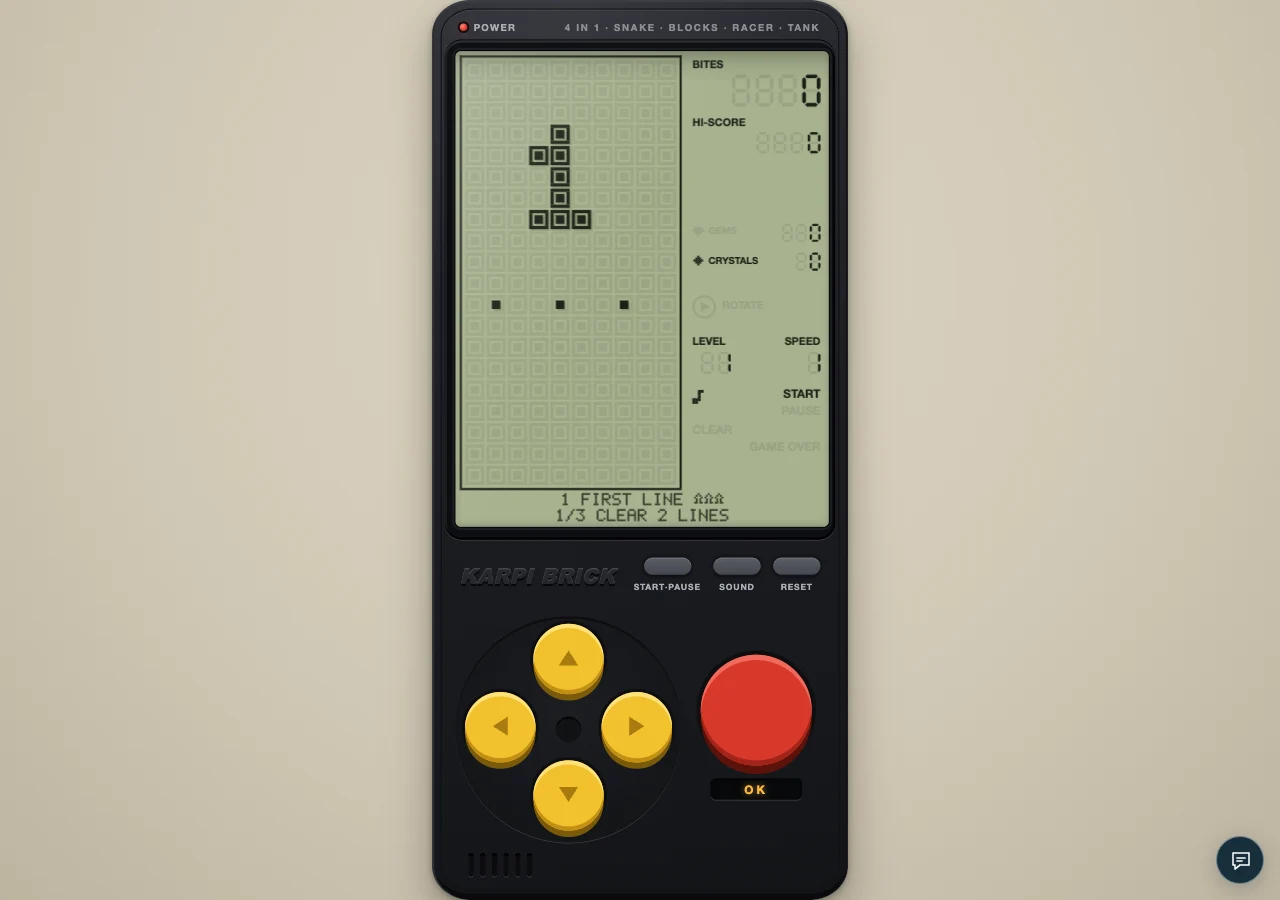
An authentic local capture of the cartridge. The visual guides below explain the decisions to look for.
In Blocks, Down lowers the active piece and Up hard-drops it into its final position. Hard drop locks the piece immediately. Use it after deciding the placement, and check journey objectives before building a habit that some levels ask you to avoid.
Down gives you another look
A soft drop moves the piece one row if there is room and adds a small amount to the score. It is useful while you are still checking alignment. The board continues to progress, so this is not an unlimited pause. Treat the slower descent as a chance to confirm the landing, not a reason to postpone the decision until the last moment.
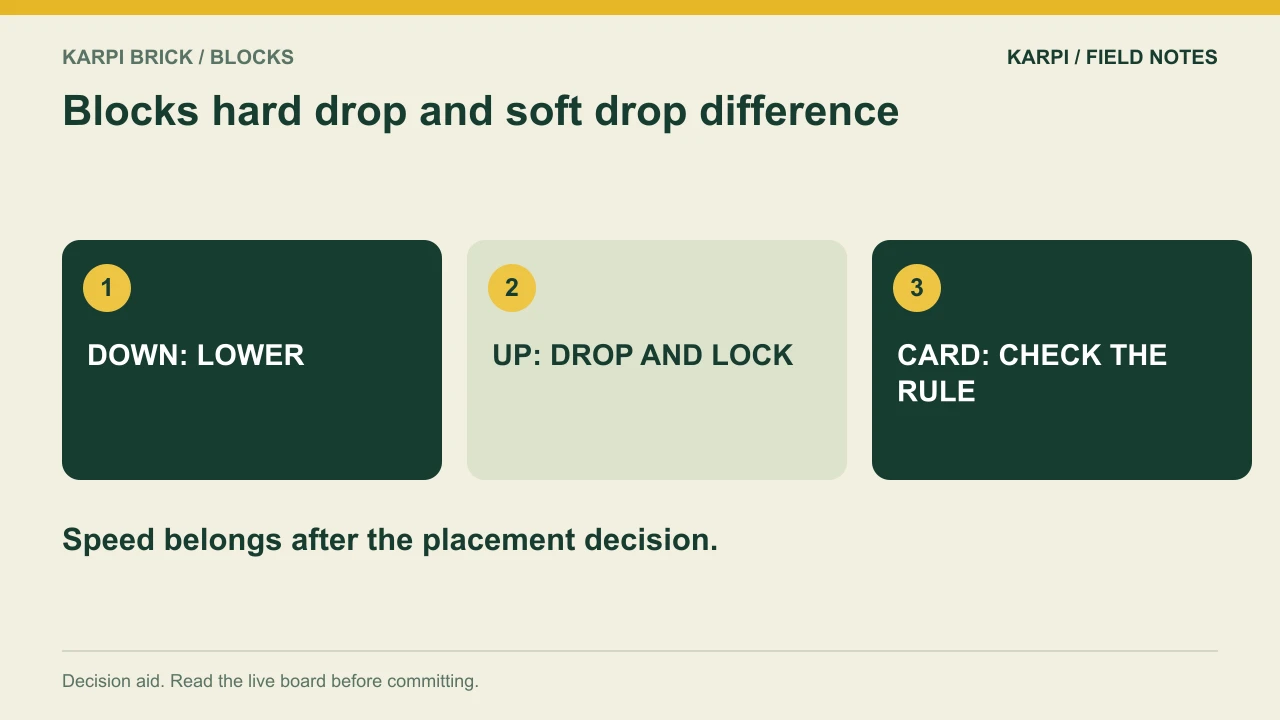
Up is the final placement
A hard drop moves the piece as far as it can go and locks it. Once you press, there is no later sideways correction for that piece. Read the shadow before the action. If you are still wondering whether a cell will be buried, you have not finished the placement decision. A quick wrong drop saves no useful time.
Drop points are not the whole score
The base rules award points per cell travelled by soft and hard drops, while row clears have their own values and level multiplier. Chasing tiny drop gains into a bad stack is a poor trade. Preserve space and create clears first. The extra points are a result of moving a piece, not a reason to ignore where it lands.
Some stars ask for restraint
Journey levels can include a no-hard-drop extra. That changes the practical goal of the attempt even if hard drop is normally comfortable. Read the card before starting. A fast clear with the wrong action history may miss the extra you wanted. You can revisit the level with a slower, intentional approach rather than treating the result as a mystery.
Use a commitment checklist
Before pressing Up, answer three questions: is the shadow in the intended columns, does the placement bury an avoidable empty cell, and can NEXT still enter and land? These checks are short enough to become a habit. If the piece is already close to the stack, do not interpret urgency as evidence that the answer is yes. You may need to accept a modest placement rather than make a risky last-second rotation. On a no-hard-drop extra, the checklist still helps even though you finish the placement through ordinary falling. The distinction between drop types is about commitment and objectives, not a moral preference for slow or fast play. Hard drop is valuable when it executes a settled decision. Soft drop is useful when it gives you the final moment needed to confirm a legal, sensible position.
A focused practice attempt
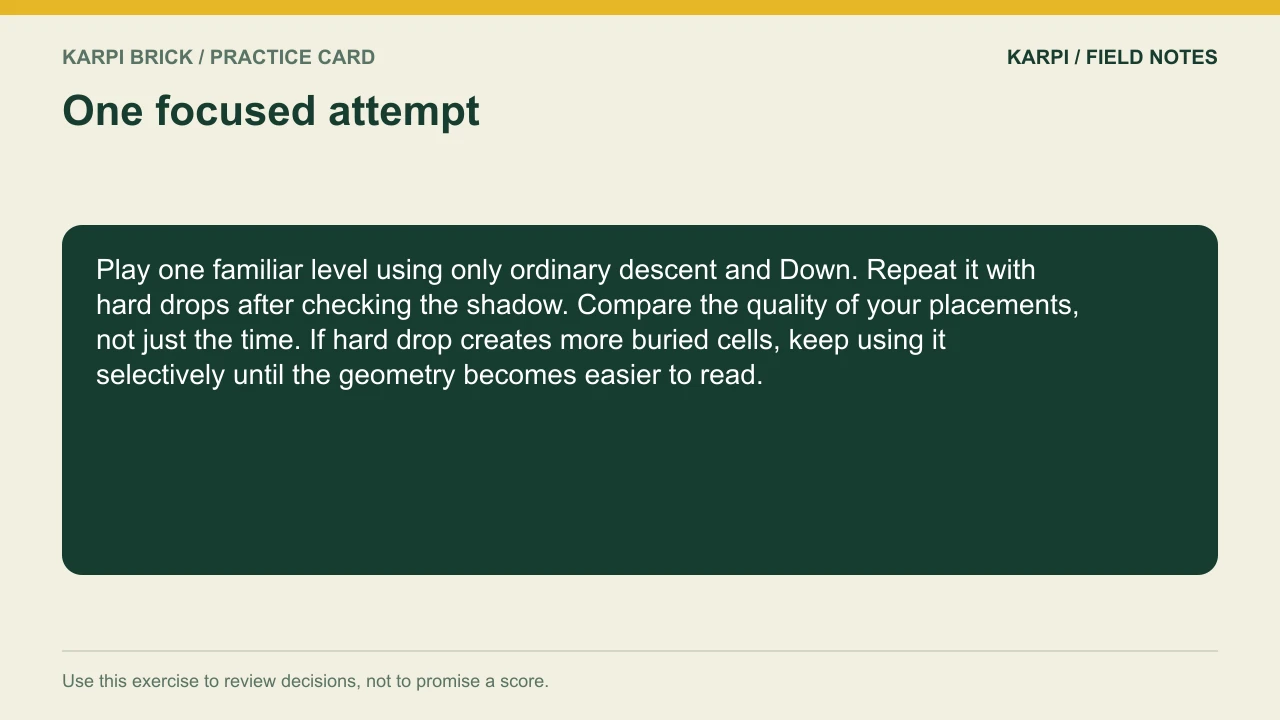
Play one familiar level using only ordinary descent and Down. Repeat it with hard drops after checking the shadow. Compare the quality of your placements, not just the time. If hard drop creates more buried cells, keep using it selectively until the geometry becomes easier to read.
At the console | What to use |
|---|---|
Open this cartridge | |
Main controls | Left/right move; Down soft-drops; Up hard-drops; Space or the red key rotates. |
Pause | START/PAUSE on the console; Enter or P on a keyboard |
Journey | 12 levels across three chapters; read the goal and two extras |
Take it to the board: Play Blocks and test one decision from this guide. The advice describes the current cartridge rules; a practice exercise is not a guaranteed score or clear.
 Take it to the gameBrick GameSnake, Blocks, Racer and Tank on a 90s handheldPlay free
Read next
Blocks Scoring: When a Double Beats Two Singles For the series starting point, read Karpi Brick Blocks: Build a Floor, Not a Tower.